
Almost every photo can be saved. Want to see a before and after lightroom edit? Check out this simple step by step edit in Lightroom

This blog post contains affiliate links. Everyday Eyecandy is a participant in the Amazon Services LLC Associates Program, an affiliate advertising program designed to provide a means for sites to earn advertising fees by advertising and linking to Amazon.com.
Lightroom is my editing software of choice. I always get questions on how I edit my photos, so I decided to write this post to show you how I edit a photo. I’m not big on doing a whole lot to my photos, and I’m no expert. BUT I’ve picked up a few tips and tricks that I want to share.
So. This month, I took this photo:
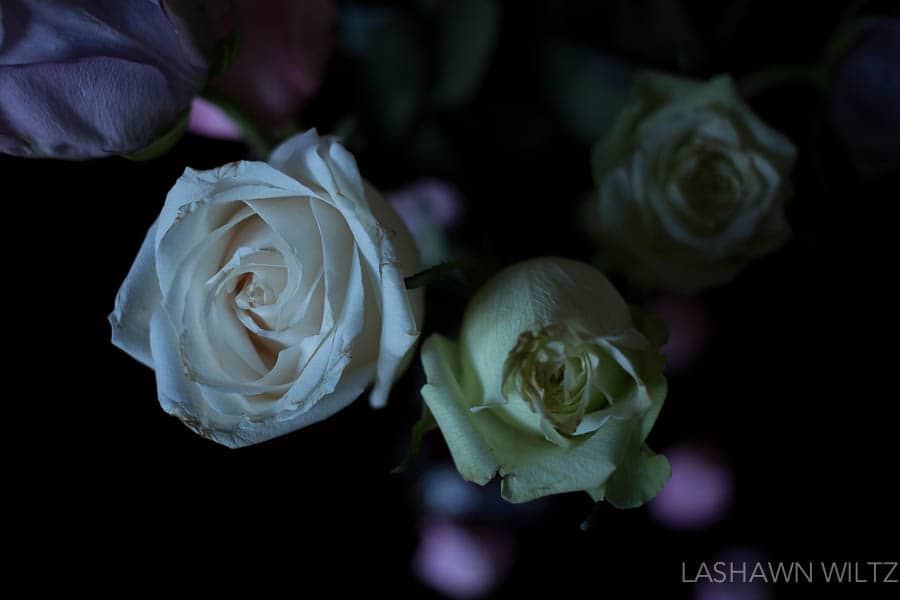
( Taken with my Canon 6D and Canon 40mm pancake lens)
I took this photo on a cloudy day in my dining room.
It was underexposed, the white balance was off, and just….boring.
But I had a feeling about it. So, I took it into Lightroom to have a closer look.
How I edit in Lightroom

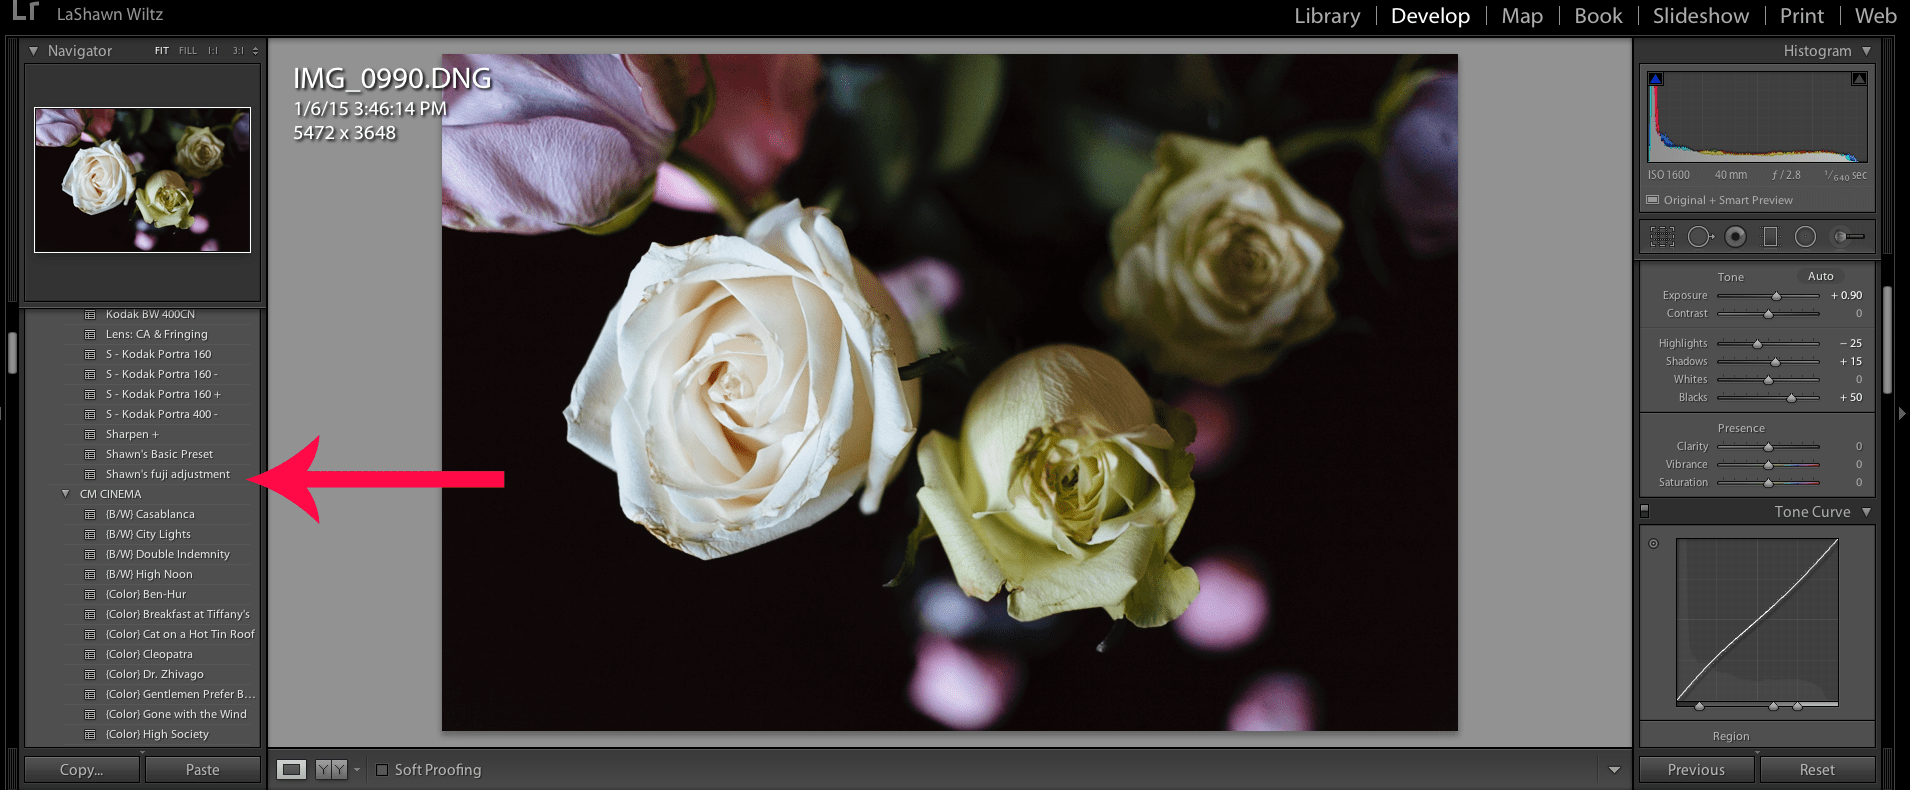
First, I fixed the exposure( +1.45) , because an improperly exposed photo can make your photo look like your white balance is off.
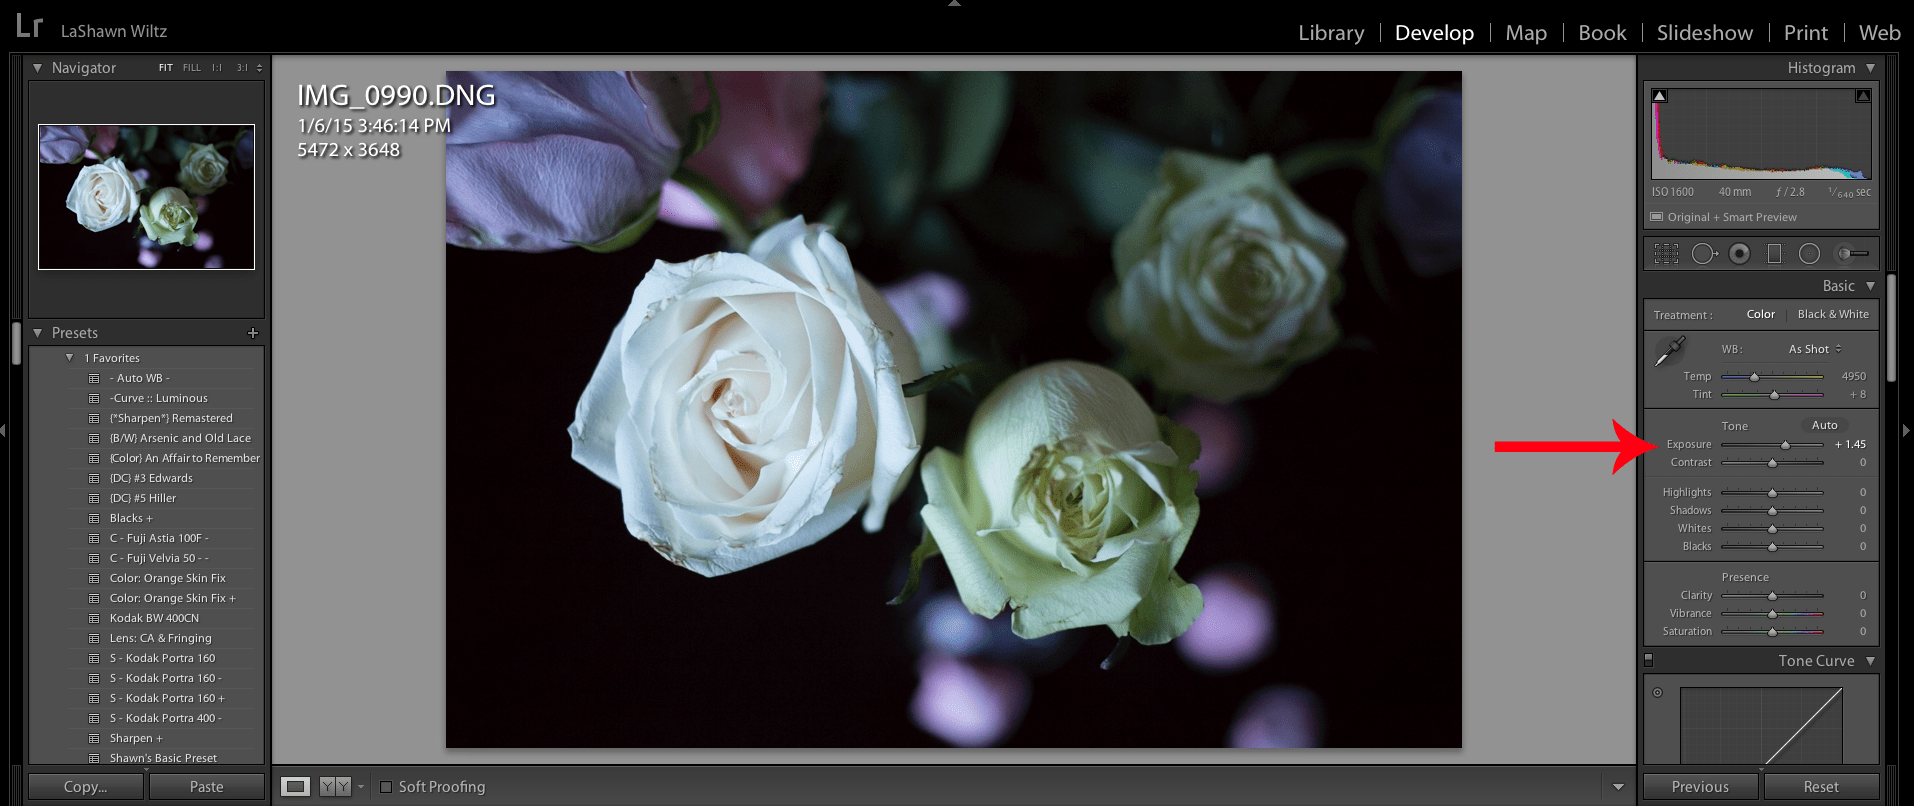
Since I tend to like my white balance warm, I adjusted that using a basic preset from Clickin Moms for white balance that gave me what I wanted…

Next, I applied a preset that I made from a VSCO preset. Presets are Lightroom’s form of changing a photo with one click. Basically a short cut. You should always know how to edit by hand if you will,but once you learn what you want, a preset is a WONDERFUL AND ESSENTIAL time saver!!
I love VSCO, but most of the presets are a bit too strong for what I like. I always found myself doing the same adjustments to each photo, so finally, I just made my own preset. Pretty easy to do. I’ll have to do a post on it soon.
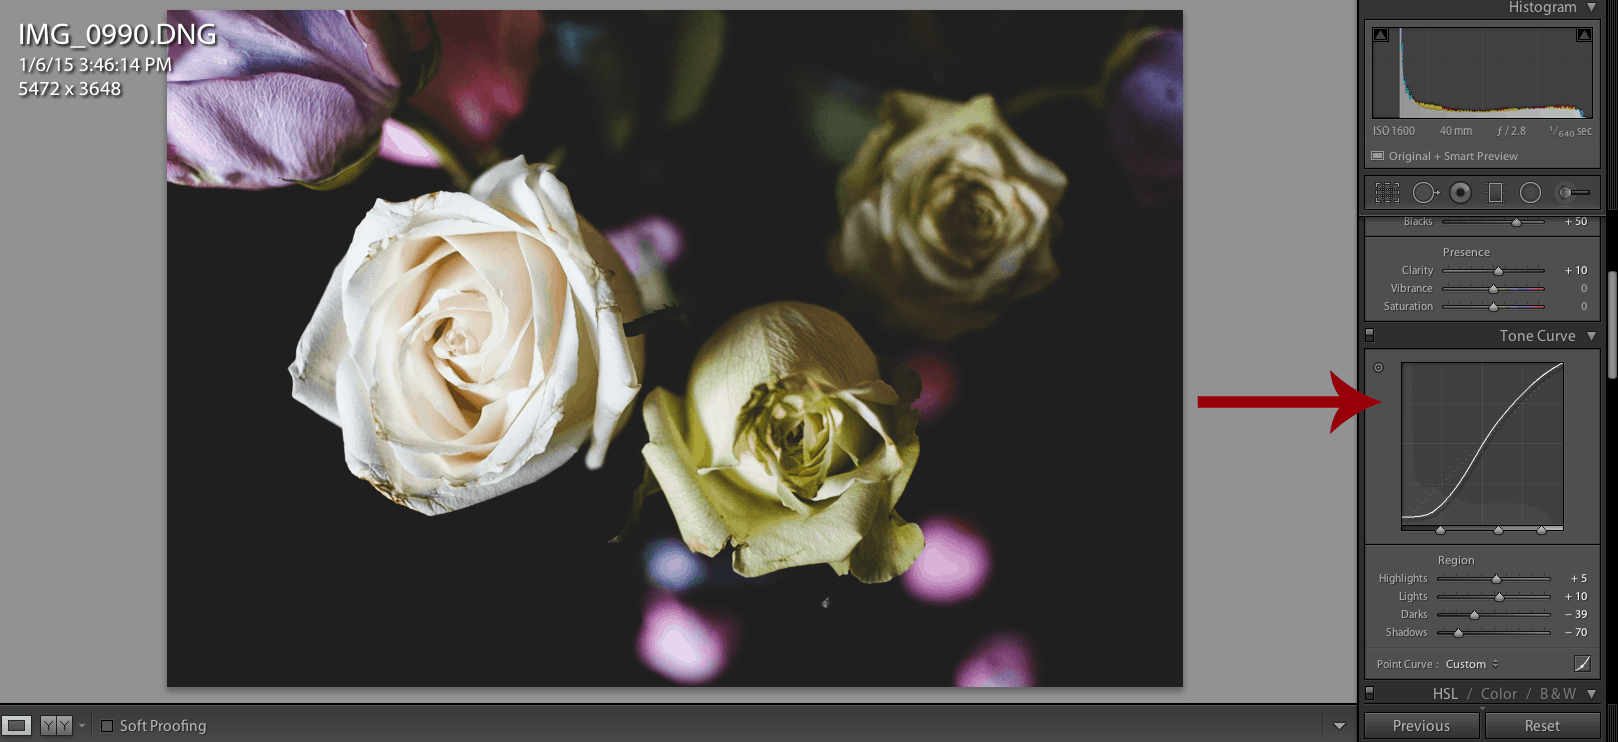
Next, I wanted this photo to have a little bit of that matte feel. So, I turned to my tone curve. I also decreased the darks and the shadows just a bit to bring out the pop in the cream colored flower.
And here is the finished product….

So did you learn anything from this Before and After Lightroom tutorial? Anything you can add, would do differently?
Do You want to see more Before and After Lightroom edits? Sound off in the comments.

Candace
Saturday 24th of January 2015
This was great, if you could go over how you created the preset that would take sooooo much off me. THANKS!
Kita
Friday 23rd of January 2015
Chile I am going to have to pay you for lightroom. I have it but I am lost. Now I can do photoshop like no one's business but lightroom.....*sigh*
Andrea @ MouseInMyPocket.com
Friday 23rd of January 2015
Lovely finished shot. Are you also editing the photos for #OurProject52? I've been leaving those unedited to try to push myself to take better photos and not have to edit them. Normally my photos get some Photoshop love.
LaShawn
Friday 23rd of January 2015
Yes, I use Lightroom to edit for most of my photos even if I just add sharpening to it for the web. I always say, get it right IN camera,but it's good to know how to "help" a photo just a little!
Nellie @ Brooklyn Active Mama
Friday 23rd of January 2015
okay so this is amazing except I don't know what a preset is and HOW I should be using them and where I can get them from?!!! *off to google* Also if you could put a arrow where you are talking about what you did--I know about the exposure and warmth but not sure where everything else is. :)
LaShawn
Friday 23rd of January 2015
Ma'am!! I updated the post in case you wanted to come back and have a look. :-)