How To make Ice Cream Cakesicles
Cakesicles are a fun twist on a cake pop.Try these easy to make Ice Cream Cakesicles that are a fun twist on a popular treat.

This blog post contains affiliate links. Everyday Eyecandy is a participant in the Amazon Services LLC Associates Program, an affiliate advertising program designed to provide a means for sites to earn advertising fees by advertising and linking to Amazon.com.
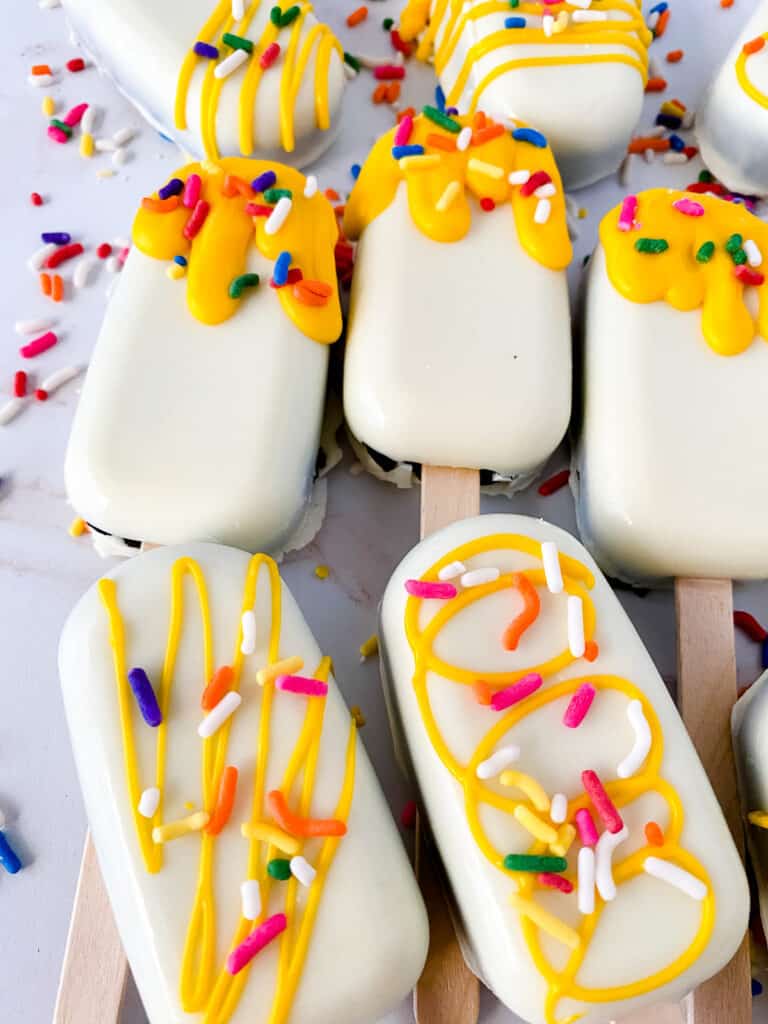
Cakesicles are a fun twist on a traditional cake pop, but much easier to make! Crafted using popsicle molds, ice cream cakesicles are an easy-to-make version of the ever-popular treat with a chocolate shell surrounding a blend of cake and frosting. Perfect for a summer party treat!
Here is how to make a cakecisicle!
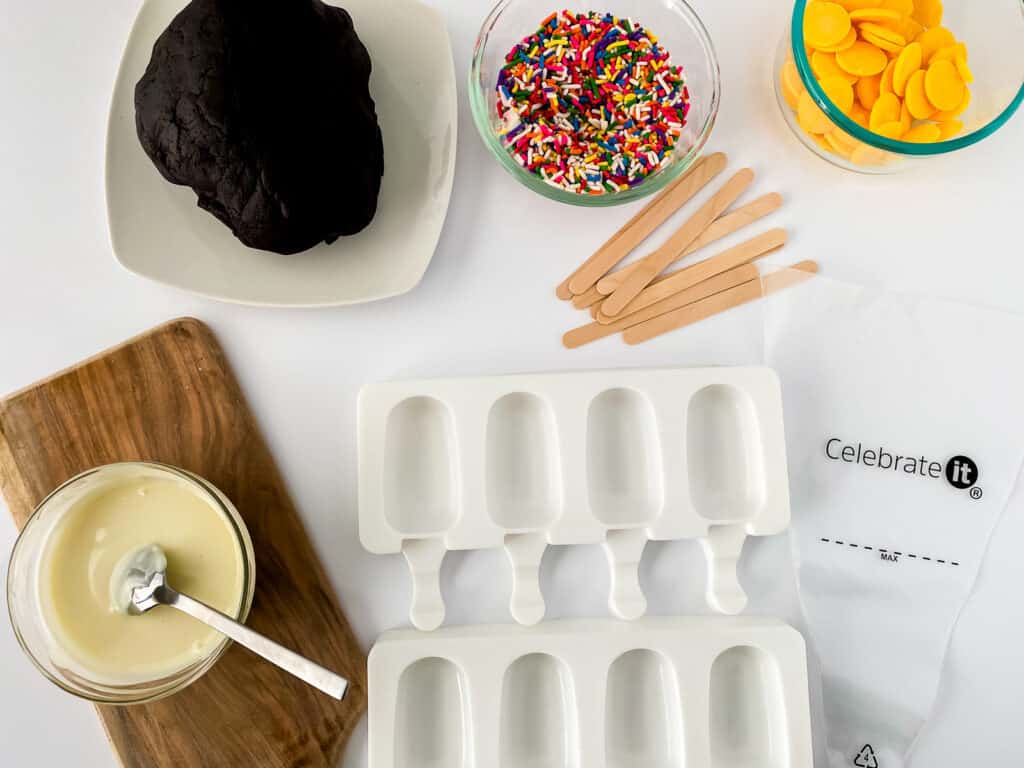
What you need to start!

- Cake pop dough ( I used boxed cake mix, mixed per directions)
- Colored Candy Melts
- Almond bark or Ghirardelli melting wafers.
- Parchment lined baking sheets
- Piping bags
- Microwave safe bowls with lids
- Ice cream silicone molds
How to Make Ice Cream Cakesicles

Melt the almond bark or melting wafers in a microwave safe bowl on 30 min increments until it’s fully melted.
If using candy melts add 1 tsp of vegetable oil if the chocolate is not smooth (for use with candy melts, almond bark melts without it)
If this is the first time using your molds, press a stick through the holes and remove them before continuing.
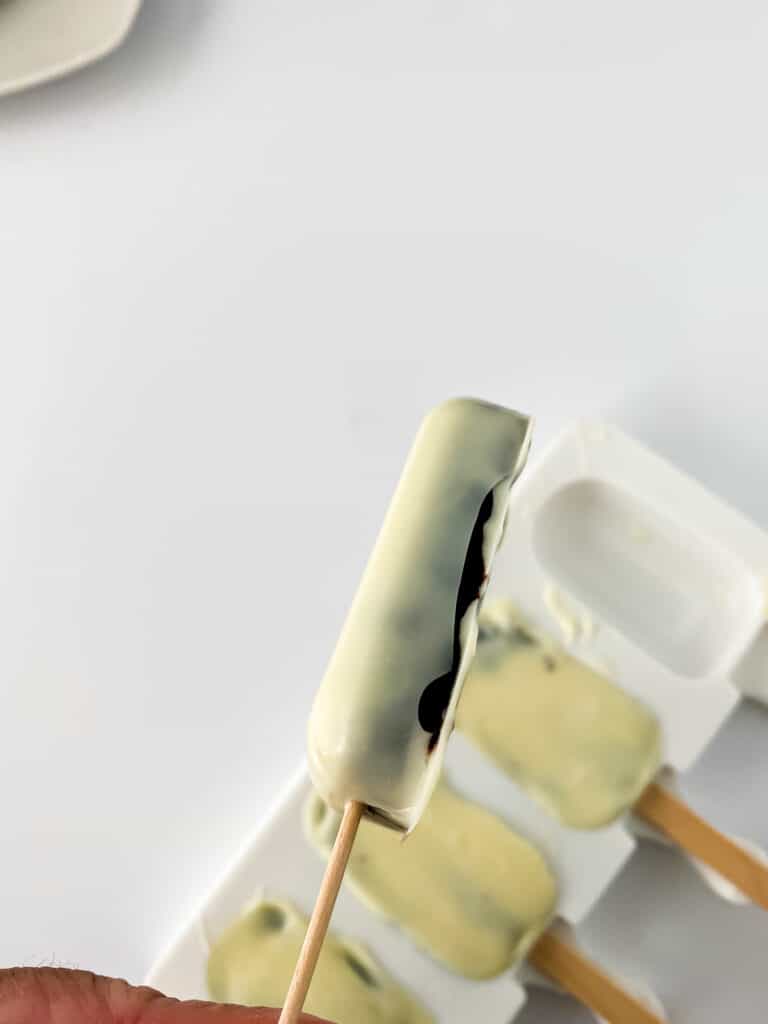
Spoon a spoonful of melted chocolate into the first mold cavity. Coat it fully taking special care to coat all the way to the rim.

Note: we are not filling the cavity with chocolate. We simply want to create a chocolate shell. We will fill it with cake pop dough.
Use the back of the spoon to spread the chocolate up the sides of the mold. Slide stick into the mold. They should NOT lean into the chocolate.
Wipe off any excess on the mold. Freeze for 15 mins. Remove from freezer.
Press cake pop dough into the cavities careful not to break the chocolate and slide the sticks if you need too to fill the cavity with cake pop dough.

Make sure the sticks inserted through the dough are all the same length.
Cover the top with chocolate and return to freezer freezing for another 10 mins.
To remove from the mold:

Very carefully loosen one of the end pieces.
Peeling the mold from the top, very carefully peel the entire pop free. Carefully push the sticks up through the mold.
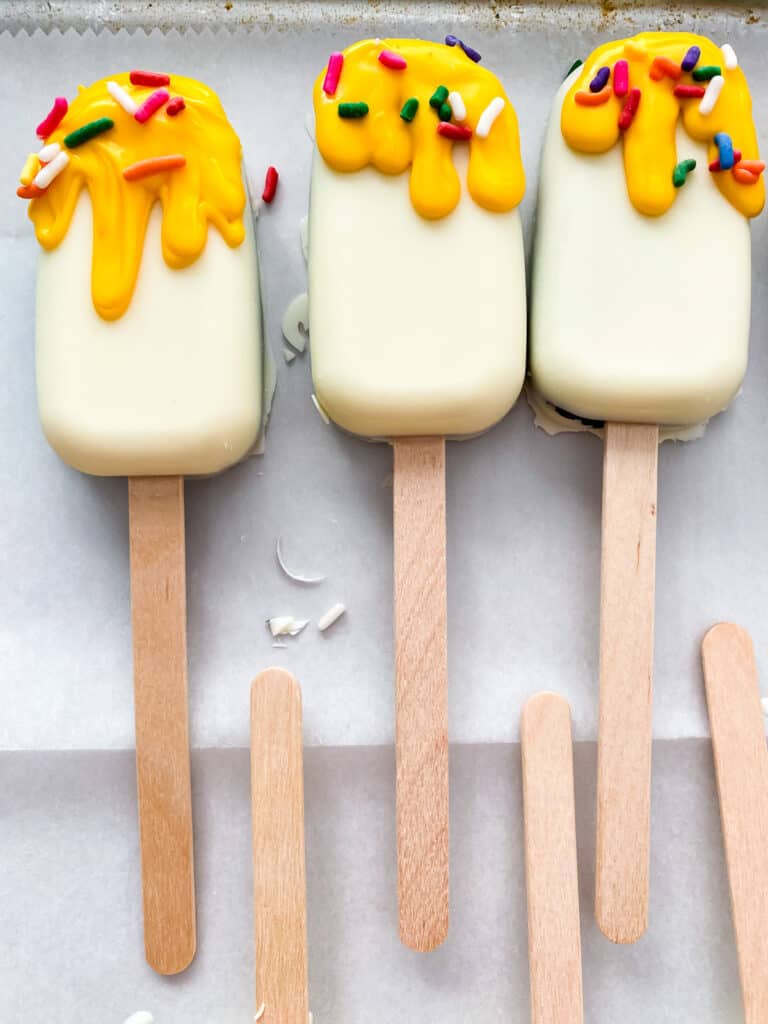
Rest on parchment lined baking sheet.
Decorating the top:

Melt colored candy melts in bowls or directly inside of a piping bag. Melt on 30 second increments.
Cut a small opening at the bottom and create designs, immediately add sprinkles.
let dry 15 min if placing on platters (at least 30-45 min) before bagging.

Troubleshooting Tips

If the stick won’t stay inside the dough, remove it from the mold, dip in melted chocolate and insert into pop. Let set for 10-15 mins.
If the chocolate cracks when removing:
Peel the chocolate off, if no cake is in the chocolate remelt it and start over.
The sides are not fully covered:
Dab a bit of the melted chocolate into the exposed areas and let dry.
Extra chocolate is on the outer rim:
Using a pair of clean scissors carefully trim it off.

Aren’t these cute??? Have Fun making cakesicles!

How To make Ice Cream Cakesicles
Ingredients
- Cake pop dough cake batter
- Colored Candy Melts
- Almond bark or Ghirardelli melting wafers.
Instructions
- Melt the almond bark or melting wafers in a microwave safe bowl on 30 min increments until it’s fully melted.
If using candy melts add 1 tsp of vegetable oil if the chocolate is not smooth (for use with candy melts, almond bark melts without it)
If this is the first time using your molds, press a stick through the holes and remove them before continuing.
Spoon a spoonful of melted chocolate into the first mold cavity. Coat it fully taking special care to coat all the way to the rim.
Note: we are not filling the cavity with chocolate. We simply want to create a chocolate shell. We will fill it with cake pop dough.
Use the back of the spoon to spread the chocolate up the sides of the mold. Slide stick into the mold. They should NOT lean into the chocolate.
Wipe off any excess on the mold. Freeze for 15 mins. Remove from freezer.
Press cake pop dough into the cavities careful not to break the chocolate and slide the sticks if you need too to fill the cavity with cake pop dough.
Make sure the sticks inserted through the dough are all the same length.
Cover the top with chocolate and return to freezer freezing for another 10 mins.
To remove from the mold:
Very carefully loosen one of the end pieces.
Peeling the mold from the top, very carefully peel the entire pop free. Carefully push the sticks up through the mold.
Rest on parchment lined baking sheet.
Decorating the top:
Melt colored candy melts in bowls or directly inside of a piping bag. Melt on 30 second increments.
Cut a small opening at the bottom and create designs, immediately add sprinkles.
let dry 15 min if placing on platters (at least 30-45 min) before bagging.
Notes
Using a pair of clean scissors carefully trim it off
