Top 5 Food Photography Tips
It’s another Fab Five post! This month’s theme is In the Kitchen and I just had to share a few food photography tips. I fell into food photography by default really. Pookah, cute as ever, has started to shy away from my camera. And rather than take forced non authentic photos of him, I’ve backed away. But I still have that need to photograph SOMETHING. Enter food. And flowers. And things. On the one hand, it’s much easier to photograph a subject that doesn’t move( much). That stays where you put it( most of the time). But when I first started out, I would have appreciated a few food photography tips.
Top 5 Tips for Food Photography
Taking photos of food, like anything else, requires that you have some mastery of your camera before you start. Whether that camera be a Full Frame DSLR or your iPhone, you should know how to use it and know how to get the correct exposure, focus and white balance. The photography tips that I have included will get your started. And after that, practice practice practice!
1. Take photos in natural light
When you are just starting out, the best light is natural light. It’s free and it’s easy to work with.
2. Take photos from multiple angles/perspectives:
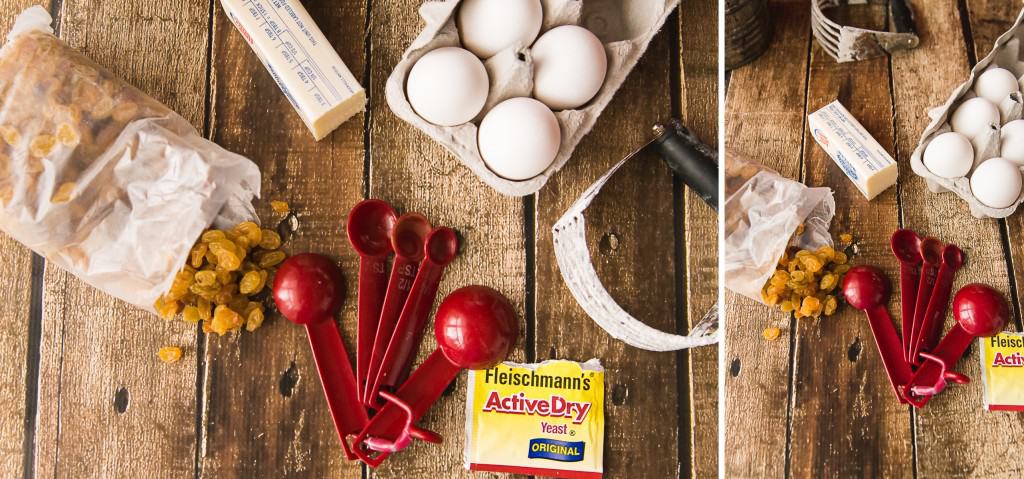
Take photos from above, horizontal, vertical…….
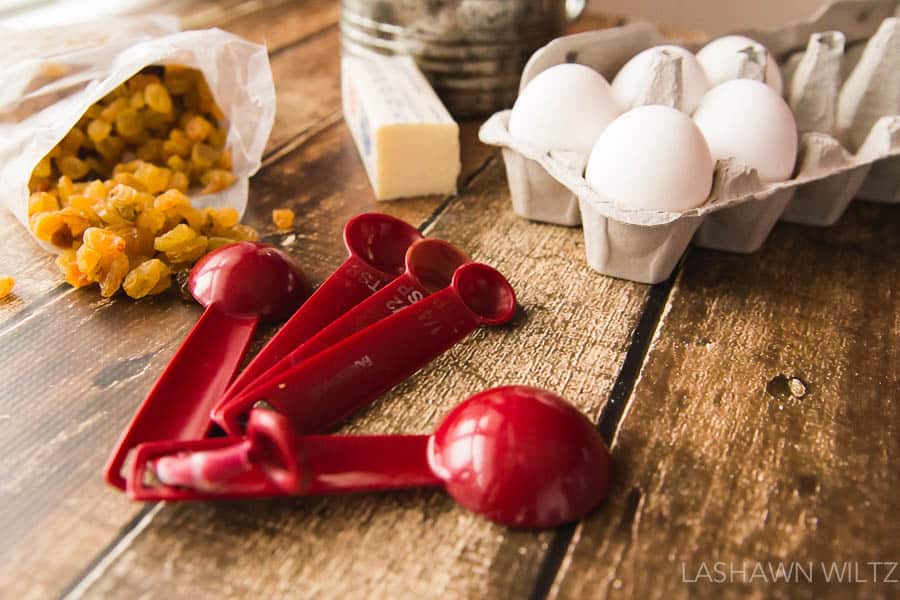
Change your view. Shoot from below, above, at eye level also. You’ll be surprised at how just moving your position can change your photograph. Change your story.
3. Tell a story
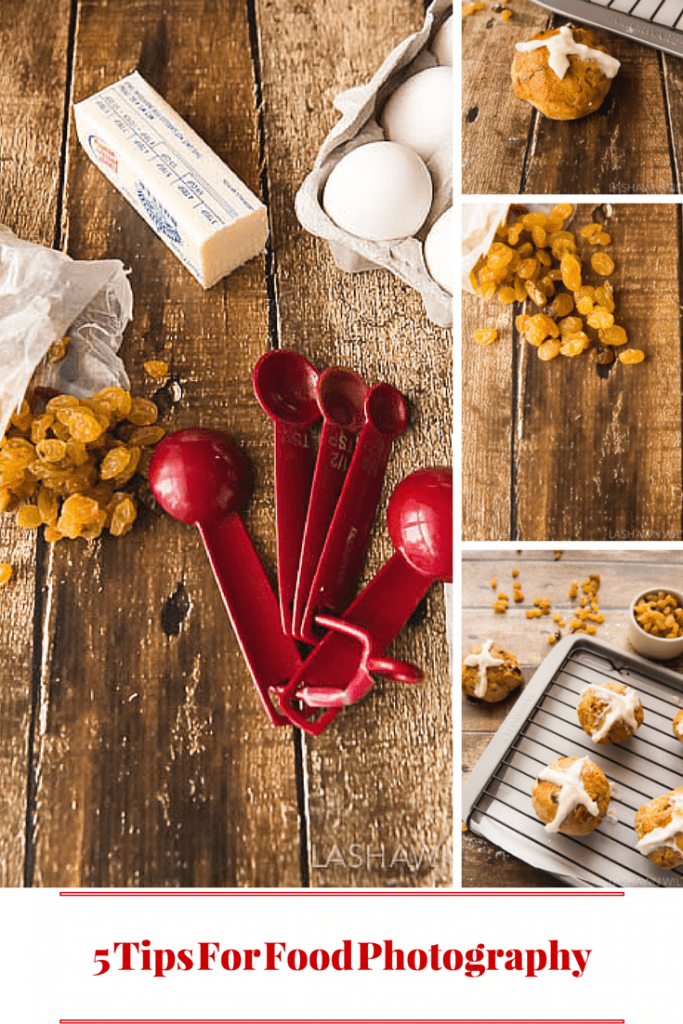
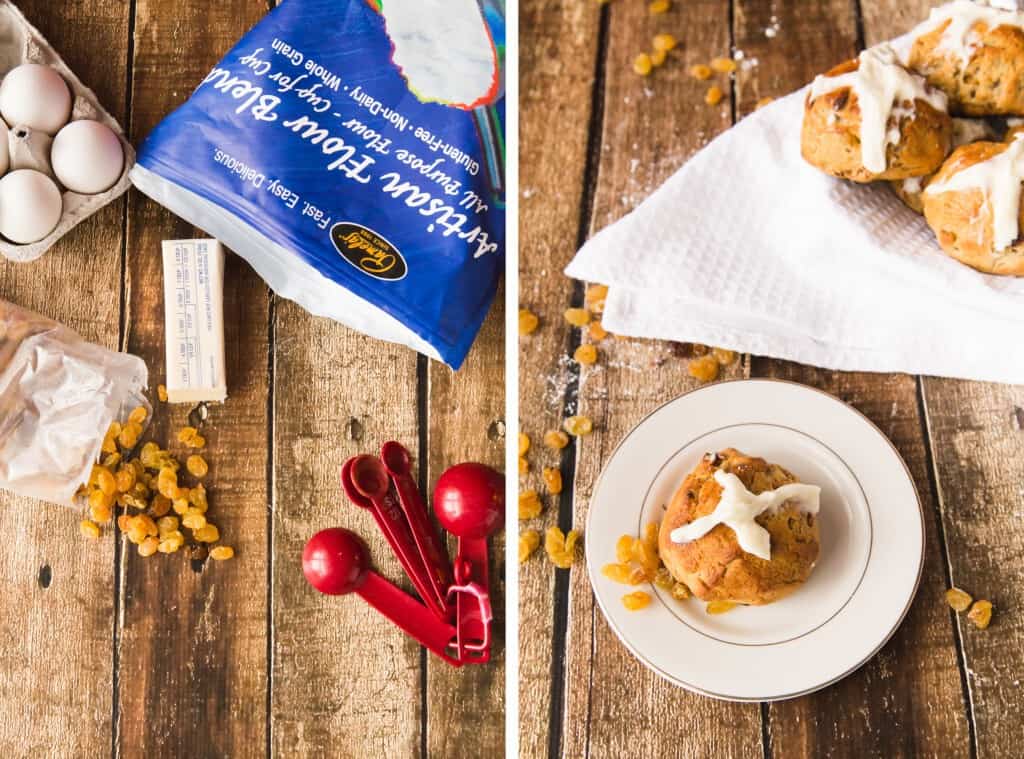
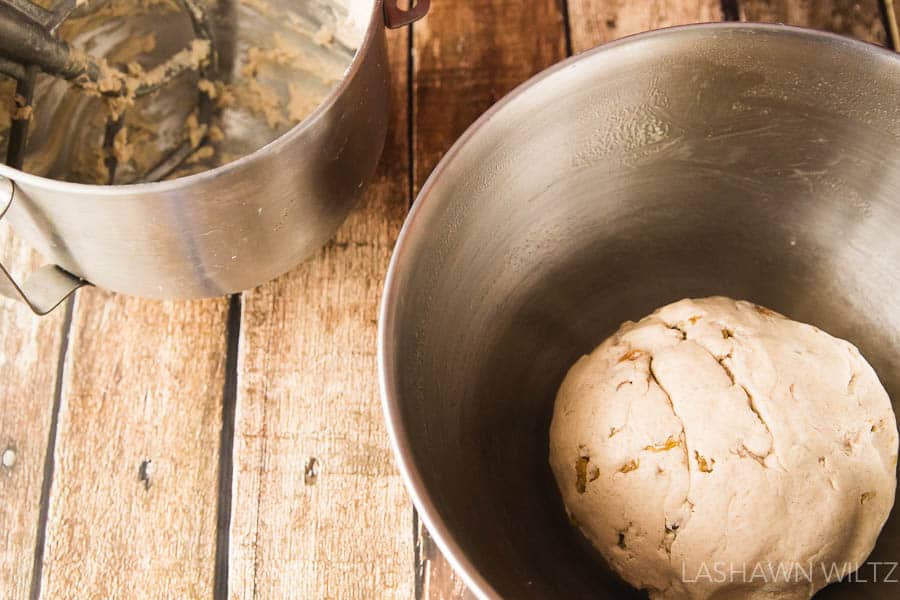
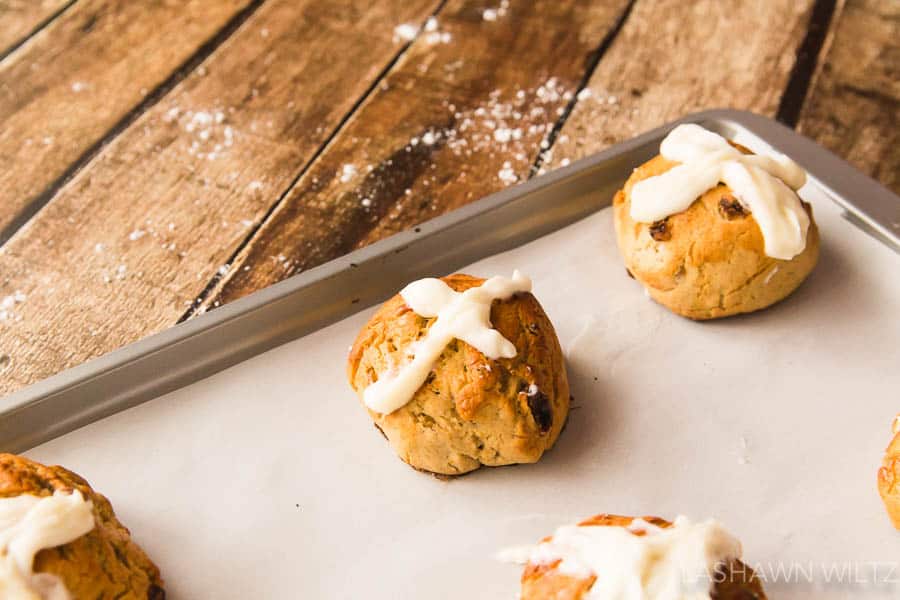
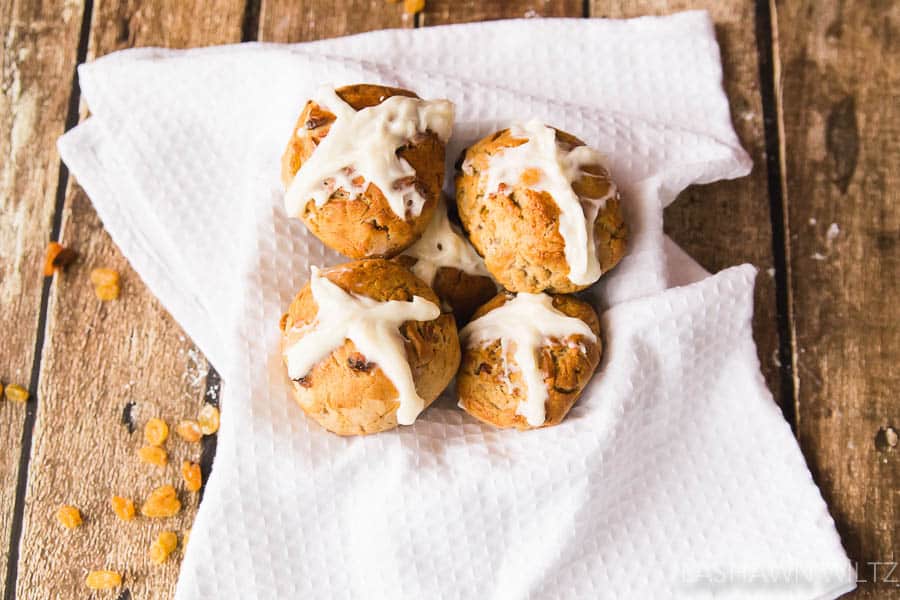
My story in these photos, was the making of gluten-free hot cross buns for Good Friday for my son.
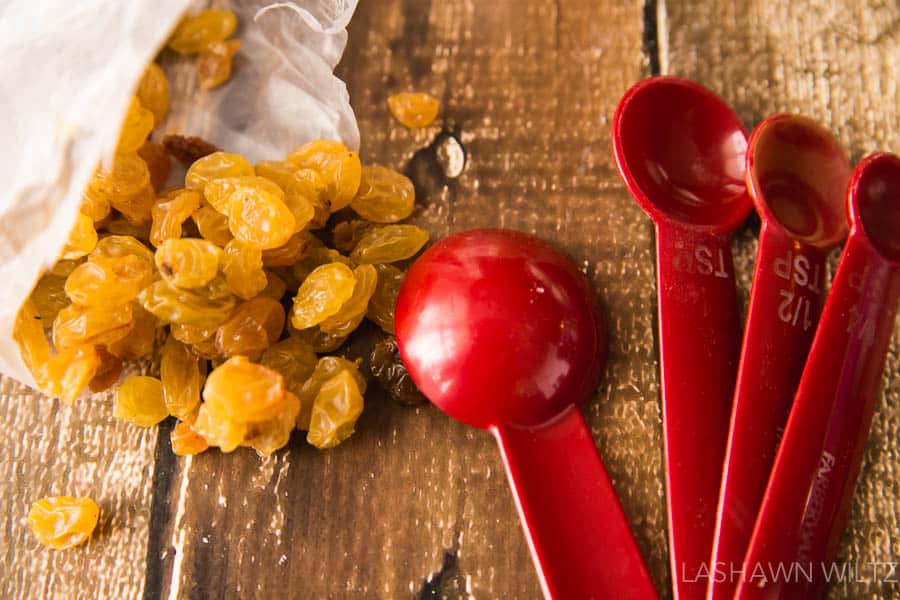
4. Get the details
Each recipe is a story. The ingredients, waiting for the dough to rise, the icing on the final product…
5.Enjoy
Food photography, like all photography should be enjoyable. So enjoy food photography and enjoy the fruits of your labor!
Hopefully, these food photography tips will help you to improve your food photography! Since it is Good Friday, I’ve included the recipe for Gluten Free Hot Cross Buns at the end of this post.
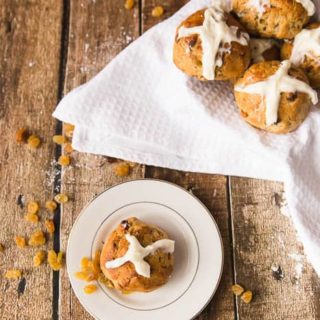
Gluten Free Hot Cross Buns
Ingredients
- Dough
- 1 1/2 cup warm milk
- 5 teaspoons active dry yeast
- 1 teaspoon of sugar
- 4 cups of Pamela's Artisan Flour Blend
- 1/2 cup sugar
- 1 1/2 tsp of ground allspice
- 1/2 tsp cinnamon
- 1 tsp salt
- 1/2 cup plus 2 TBSP cold butter
- 1 large egg
- 1 large egg yolk
- 1/3 cup of golden raisins
- 2 tsp finely grated orange zest
- 2 tsp finely grated lemon zest
- GLAZE
- 3 TBSP granulated sugar
- 1 large egg
- Frosting 1/4 cup butter very soft
- 1 cup of powdered sugar
- 1 to 2 TBSP milk
Instructions
- This recipe is copied,with a few modifications from Pamelasproducts.com
- DOUGH
- In a small bowl stir together milk, yeast, and 1 teaspoon granulated sugar. Let mixture stand 5 minutes, or until foamy.
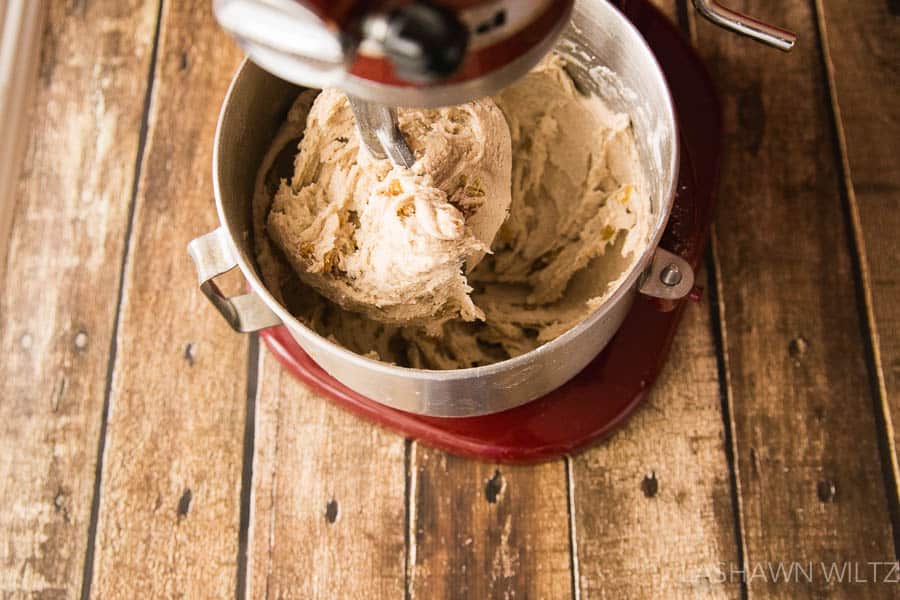
- Into a large bowl sift together flour, allspice, cinnamon, salt, and remaining 1/2 cup granulated sugar. Cut butter into bits and with your fingertips or a pastry blender blend into flour mixture until mixture resembles coarse meal, place in bowl of stand mixer. Lightly beat 1 whole egg with egg yolk. Make a well in center of flour mixture and pour in yeast and egg mixtures, raisins, and zests. Mix on medium until dough comes together, about a minute. Transfer dough to an oiled large bowl and turn to coat. Let dough rise, covered with plastic wrap, in a warm place until doubled in bulk, about 1 1/2 hours.
- Line two baking sheets with parchment or oil two large baking pans.
- On a floured surface with oiled hands knead dough briefly and form into two 12-inch long logs. Cut each log crosswise into 12 equal pieces. Form each piece into a ball and arrange about 1 inch apart on baking sheets, or in greased pan. Let buns rise, covered, in a warm place until doubled in bulk, about 45 minutes.
- Preheat oven to 400°. While buns are rising, lightly beat remaining egg with superfine sugar to make an egg glaze. Brush buns with egg glaze. Bake buns in upper and lower thirds of oven, switching position of sheets halfway through baking, until golden, about 15 to 18 minutes.
- Transfer buns to a rack to cool slightly. Serve buns warm or at room temperature.
- FROSTING
- Mix softened butter with powdered sugar, add milk to make a frosting that can be dripped from a spoon to form the cross on the top of the buns.
- Chef's note: Feel free to substitute citron or other dried fruits for the raisins and currants. I think i'll try blueberries of course, next time.
These bun looks yum! and the images look great! I need these tips because I desire to get better with my images. Thanks for the tips!
Getting even lighting is the hardest thing for me! I need a pro to visit my setup and help my untrained eye tweak it!
I still haven’t found the light in my house it’s a crying shame.
I always enjoy your posts and these are, as always, great tips! I received my 1st DLSR for Christmas and I’m still trying to learn. I love your pallet looking background, do you mind sharing where that is from?
I totally need to make these. I want to cut my gluten back. I love these tips. I am definitely trying to get better at food photography.
Thanks for these great tips! I’ve always had a terrible time getting just the right shots of my food. This is much appreciated!
Thank you so much for sharing your food photography tips. I took an online course for food photography but I’ve not got it figured out yet. Your explanations are easy to understand and follow and i’m going to try your tips.
I only take my food shots in natural light – that’s why whenever I’m at restaurants, I always pick the seat that has the best lighting, most of the time it’s close to a window but it shouldn’t be too bright as well. Coz if it’s too bright, the photo tends to get washed out. I don’t like doing a lot of editing with my food shots, so natural lighting is always the way to go for me.
These are really awesome tips! I especially like taking photos of my recipes and dishes!
These look so insanely yummy, what amazing pictures!
Thanks for the handy tips, I think a lot of these tips can apply for photography in general. I know the angles are really my weakness when it comes to photos and the slightest tilt can make a powerful statement in a photo.
I’m definitely bookmarking this post!!! I am by no means a photographer but I try as much as I can to take good pics! Thanks!
This is great to know! The lighting in my house is pretty awful! I find it so hard to take photos of anything let a lone food so this is helpful! I’ll have to see what I can do about it!
This is was a fun post and yummy looking recipe – I enjoyed the way that you used your photography as a way of recording the steps and explanation of what you did for each beautiful shot – thank you 🙂
Those are amazing food photography tips. Your pictures are just amazing and those buns look delicious
I enjoyed reading your tips. I think great food photos are a highlight to see on any blog or website!
Love these photography tips. I am always looking for some tips to improve my photography skills. Looking at your photos, we made hot cross buns last night too lo.l.
Such great tips. I am here in Michigan and still waiting for the sun to come out so I can get back to more natural light photos instead of photography box and light photos.
I am always looking for good tips to improve my photography. Thank you so much for posting yours! Your pictures look fabulous!
That hot cross bun looks delcious! My apartment is dark since they are doing construction next door so I don’t have the priviledge of natural lighting. Thanks for the tips.
I just love your photography. I’m on your site quite a bit because your pictures are just the business!! Food photography is super difficult for me because my kitchen has no windows. I end up running back and forth from the kitchen to the living room (or my bedroom) because that’s where the best light is. I definitely plan to utilize these tips tho!
Thanks so much for these tips. I have a food blog and always struggle with my pictures. These of yours are gorgeous!
Thanks for sharing your recipe with us. I really like the photos that were taken also. You have some great photography tips.
I love food photography, and some of the photos that people come up with are amazing. My brother has been into it lately – he’s really good. I love seeing the set-ups that he creates. The natural light tip is a good one that I hope to master. Lighting really does make all the difference in a photo.
I am always one to welcome food photography tips as this is a hobby of mine. I appreciated the tip to take photos from different angles. This recipe sounds like a great gluten free option!
Very helpful tips! I just wrote a post about different photography angles too. It’s amazing how that can help so much!
I read about photography tips and I’ve applied those that you’ve mentioned. Happy that my photos are looking a lot nicer now. 🙂
These are great tips!! I fins myself creating recipes and wanting to photograph them but I have needed major help with this!! Thanks!
Your pictures are so beautiful. I’ve really got to up my photography game and just got a nice skid to stain for that purpose 😛
Baby steps ^_^
These look and sound amazing! I want to try this recipe at home!
Great post! Thank you! I’ll try your tips!
I’m on your site quite a bit because your pictures are just the business!! Food photography is super difficult for me because my kitchen has no windows. I end up running back and forth from the kitchen to the living room (or my bedroom) because that’s where the best light is. I definitely plan to utilize these tips tho!