5 Tips For Better Product Photography
Want to improve your product photography shots?
As bloggers and/or shop owners, we often are tasked with taking our own photos for our own products or for the products that we will review. But making a product look good or appealing is often a challenge.
I get a lot of questions about staging and taking product photography, so today I have 5 tips for you to improve your product photography.
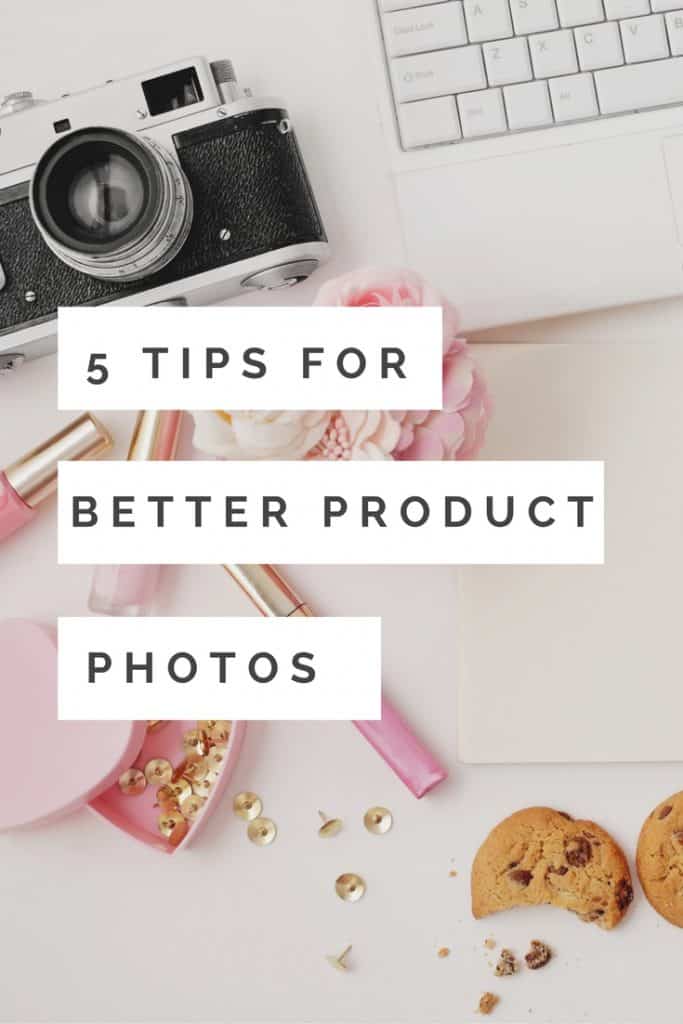
5 TIPS FOR BETTER PRODUCT PHOTOGRAPHY
This blog post contains affiliate links. Everyday Eyecandy is a participant in the Amazon Services LLC Associates Program, an affiliate advertising program designed to provide a means for sites to earn advertising fees by advertising and linking to Amazon.com.
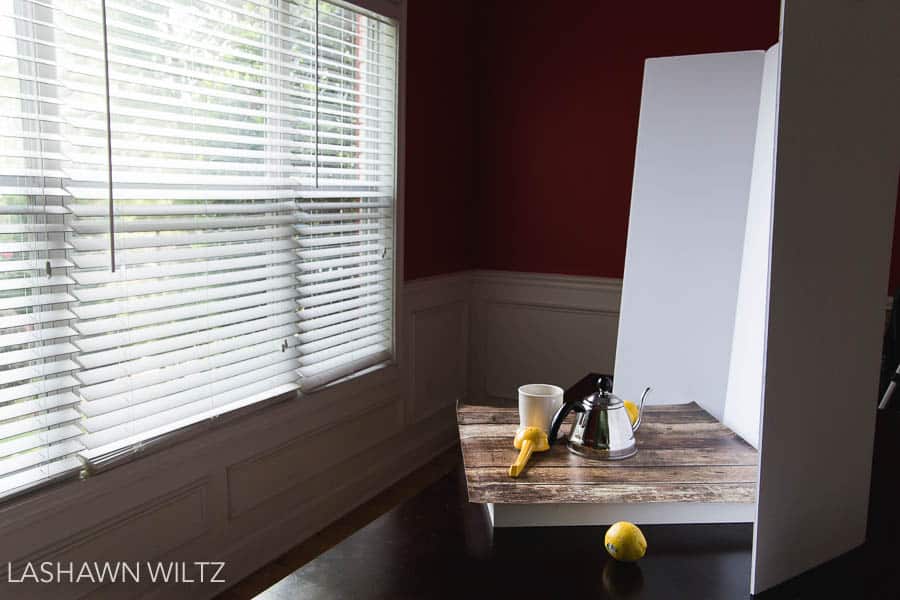
Use Natural Light
Take the time to find out where the best natural light in your house is. That might be your kitchen, near the sliding doors in your bedroom, or under the window in your bathroom.
Where ever it is, use it! If you find the light is too strong, try softening it up with sheer fabric placed over your window/door.
GROUP IN 3’s:
The Rule of 3 is a principle used in design. The idea is that objects arranged in odd numbers are more appealing and effective than even-numbered pairings or groups. Odd makes your photo more interesting!
TAKE MORE THAN ONE SHOT!
Sometimes the difference between an OK photo and a great one is your angle. Don’t stop at the first shot you get. Shoot from different angles.
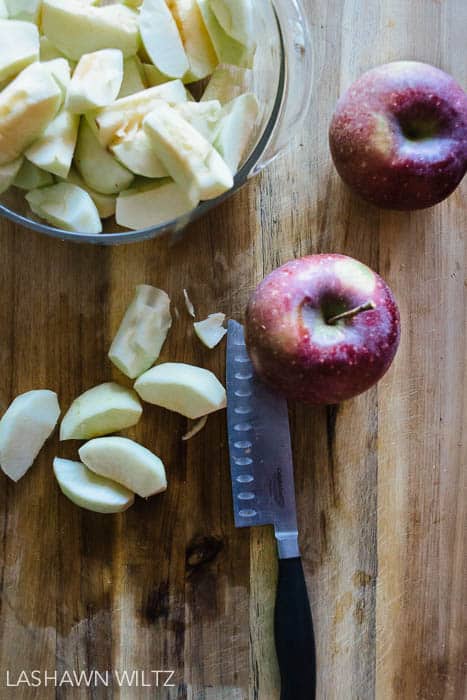
Try shooting from above, from below, from eye level, from the side or from what is known as three-quarters: not quite overhead and not quite eye level.
ADD GOOD PROPS :
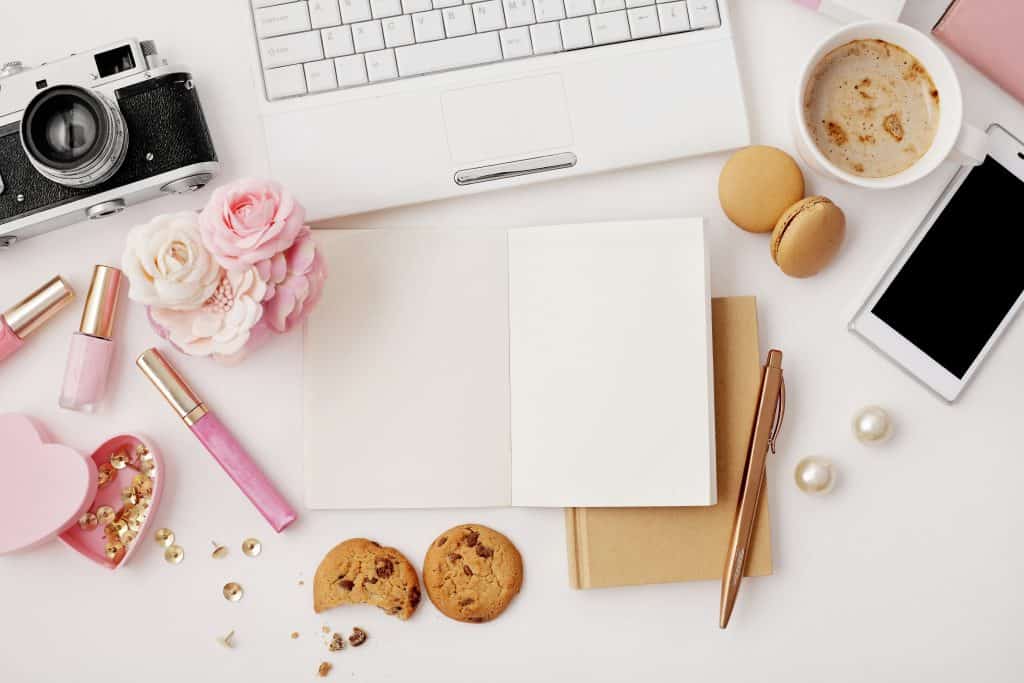
Props add visual interest and depth to your photos. You want it to look as though you just happened by your product and found it there in a natural setting…with beautiful light and perfect props.
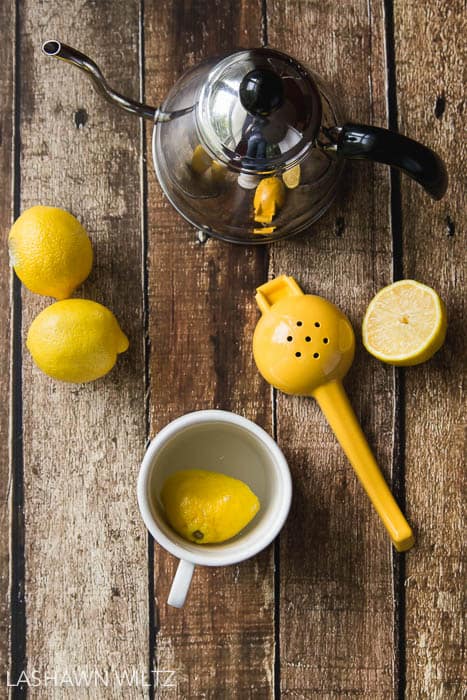
Keeping in mind the 2nd tip( group in 3s), let’s say your main product is a teapot. Now, while it’s tempting to get a beautiful photo of that teapot put it up, think about our last tip and add a few props: a few lemons, a juicer, a teacup…
Props help you tell a story, therefore making your photos more interesting.
KEEP YOUR BACKGROUND SIMPLE:
Keep a your background simple so that the focus is on the product, not the background. This will help your products stand out.
The easiest way to do this is to get a large trifold board, a plain white poster board or a roll of white paper. Make sure that you choose a board/paper with matte texture so that there is no glare from your background.
White boards are cheap and portable and anyone can find one.
So there you have it, 5 tips to improve your product photography. Apply these tips TODAY and see a change! Do you have any tips of your own? Questions? Put them in the comments!

These are great tips! Beautiful pictures also.
Thanks for these tips! Yes, I love using natural light, to me it makes the picture look more natural and authentic.
Really good tips on product photography. I am new to photography and try to spend as much time as I can taking pictures and processing them. I have a long way to go before I feel like I’m good enough but its articles like this with great photos and suggestions that keep me inspired. Yeah I prefer natural lighting too and find shooting indoors to be quite the challenge at times. Especially in low light situations.
This is a class I need to do hands on because I am confused. I have to keep practicing and the prop situation kills me I need more props.
These are great tips. I try heard to get my food photography looking good but sometimes fail at getting the perfect picture. I definitely need to remember the rule of 3’s and adding props that help tell a story. Practice makes perfect so I need to keep trying!
Great tips!!! I need to look for a tri-fold board the next time I go to Hobby Lobby.
Thanks so much for these 5 tips for better product photography! I am a blogger myself so they really come in handy. I didn’t know about grouping in three so that tip will be one that I try immediately. With the winter months coming natural light is tough but I still try to get outdoor shots even if in the morning in my PJ’s 🙂
People always laugh at me. No one eats till I take a photo of it and get a couple of angles at the very least.
I certainly need to take all these tips to heart. Natural lighting is best however there are really instances when there’s none. I need more work to do when deciding which props to add in the picture.
I need these tips! My photography is obviously inexperienced. I need a space specifically for setting up the props and simple backgrounds, like you’ve suggested. I can’t wait to improve my blog with improved photos.
This was a great breakdown for me. Angles and lighting are super important but I love your point about telling a story too. That really is what has engaged me in other’s photos.
Very informative. I have just started doing product reviews on my blog, and these tips will definitely be used.
I just love your first picture with the ice cream. These are all great tips that I use on a daily basis. Especially the one where you take picture from different angles, etc. Sometimes I will have 20 pictures of one product because I won’t give up until it’s perfect.
Thanks so much for the tips! I will be implementing immediately.
Thanks so much for the tips. I will be implementing immediately.
Sharing this with a friend. Great post. Thanks for helping…
You rock! I learn something new everyday, I am a terrible photo taker. I need to implement the group in three’s tip and not get so carried away with the symmetry of objects.
These were great tips! I know I could use them thanks so much.
Great tips! Thanks for sharing, I know I could use them.
Great tips, thanks for sharing! I definitely will be using these!
Great tips, I’ve been thinking around creating one of those perfect desk top images. Now I have some insight on how to stage it. You are always the real MVP.
Great tips! I’ve just started taking my own photos and I will definitely put these tips to use.
These are great tips. I always feel so excited for you and where you photography is going when I read your photography advice posts.
Great tips! I need to step up my photo game. I’ve been totally avoiding it. I know I need a white board – at least!
Ohhh I needed allllll of these tips because my product photo skills actually suck. lol I love how you placed everything together, really great tips thank you!
These are awesome tips. I just shared this post with my eCourse students because I think you really hit the nail on the head with these tips. People think it’s all about the camera, but these tips can make photos better even if you’re using your smart phone. Love it!
Those are great tips! I took two photography classes in undergrad. Another tip I learned is the Rule of Thirds where you place your subject in a third space versus the direct center. It’s more appealing to the eye. I am looking for some new ways to take pictures for my posts so this is very helpful. Thanks!
Thank you for sharing these awesome tips. I am new to the whole photography thing and every tip or piece of advice helps.
Using natural light is a popular and important tip. Taking more than one shot is definitely an essential aspect of the process, just as you shared.
I have never heard of the rule of three but it seems like good advice! Thanks for sharing!
These tips are so helpful! I’m still learning how to take great photos for my blog, and these are easy things I can do to improve! Thank you!
Great tips! I definitely like to use odd numbers in my photos unless I’m going for a more symmetrical, minimalist theme. Thanks for sharing!
Girl, you explained this so well! I have definitely improved on my photography, but I need help and this is definitely it! I will be testing it tomorrow! Thank you!!
Useful tips for photography. As a photographer I really appreciate it, Thanks
Nicely explained all important factor of product photography. I found many informative resources on product photography from your article. The article can be added a great value many important things top of yours.
I like to shoot like there is no Photoshop to lean on. Shooting this way gives me a cleaner image and less post-production work. I can see you are great at what you do. Keep up the good work.