How to Make A Halloween Charcuterie Board
Everyone wants to make a Charcuterie Board! Sharing how to make a fun Halloween Charcuterie Board that is a great addition for your Halloween party or just for you! This board is fun and spooky and perfect for the Halloween Season .
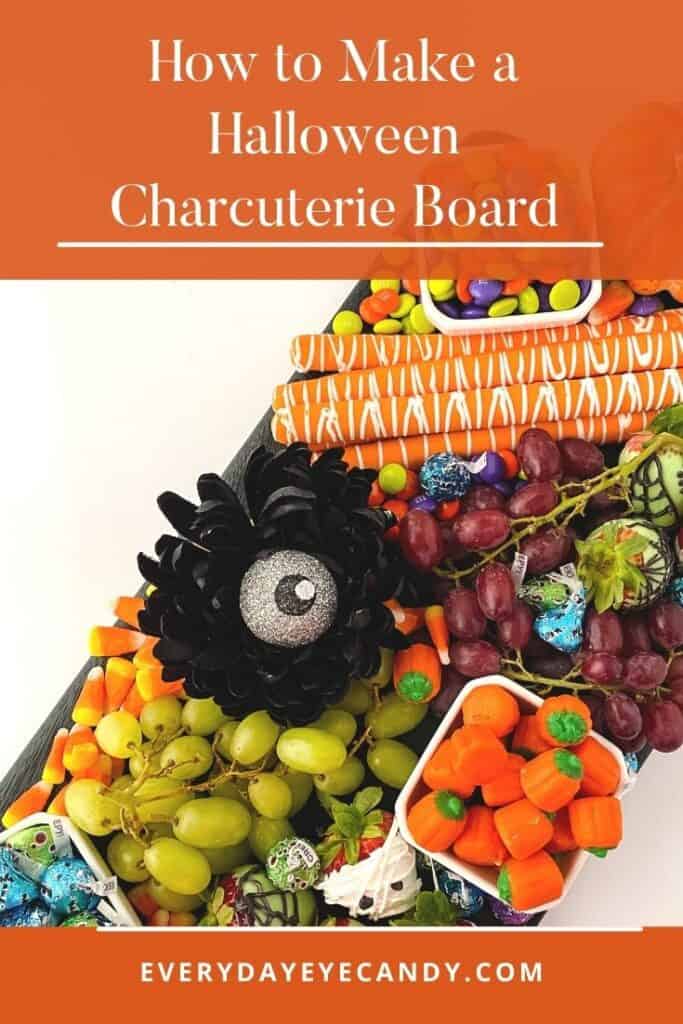
Charcuterie boards are the latest craze and WHY NOT??? They are a great option for entertaining and feeding a crowd, easily customizable for a themed gathering. It’s the perfect halloween snack board.
Charcuterie are technically considered appetizers, but honestly, they are the star of the show. They are really edible works or art! And they are versatile and a fun way to serve a themed snack at your next party. It’s why they are the perfect option for a Halloween Charcuterie Board.
What is a Charcuterie Board?
Charcuterie boards originally were a meat versions of a classic cheese board. They have become very popular and now can contain almost anything: a variety of meats ,fresh fruit, crackers, sips, breads, nuts, many varieties of cheeses and other sweet treats on a large cutting board.
These fun boards have become so popular that there are many varieties of a fun charcuterie board to choose from, including this fun Halloween Charcuterie Board.
What you need to Make the perfect Halloween Charcuterie Board
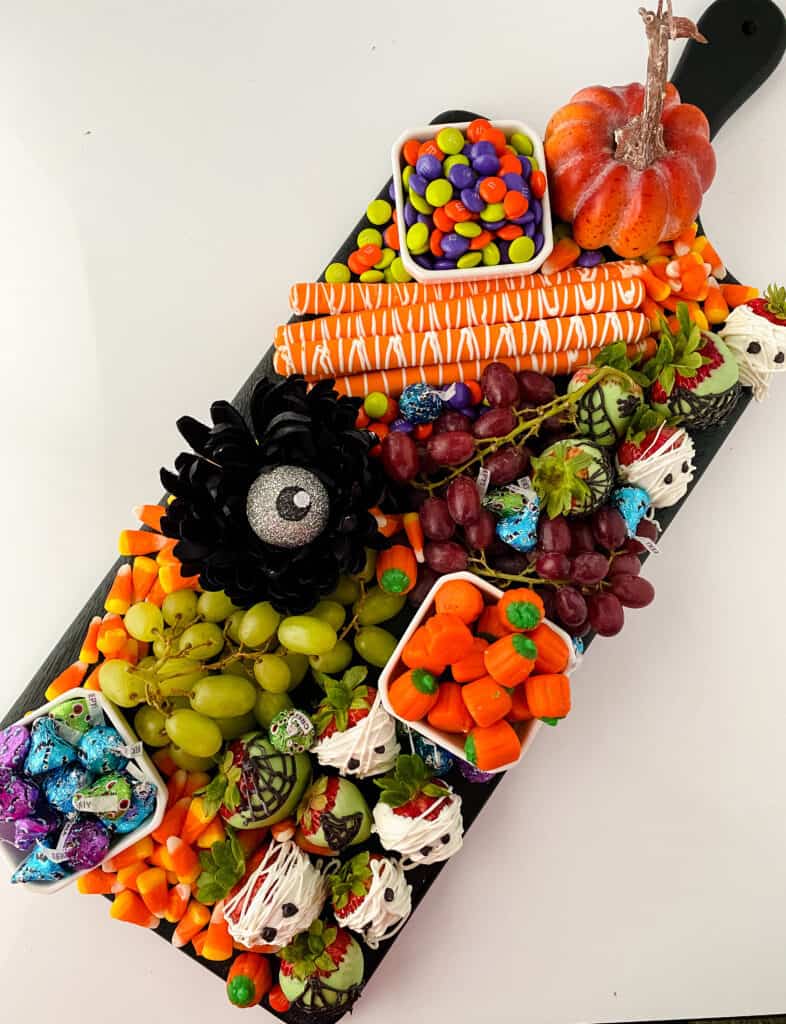
So how do you make the perfect halloween-themed board for your next halloween party?
It’s really the small touches and little details that can transform a classic charcuterie board into the perfect spooky Halloween charcuterie Board.
Swing by your local grocery store and pick up Hershey’s Halloween monster kisses, Halloween orange covered pretzel sticks, halloween ghouls mix candy, candy corn and candy pumpkins, grapes and strawberries to start.
This recipe is meant to give you a place to get started. Personalize your own charcuterie board with any ghoulish treat you like ( like fake spiders, candy eyeballs or skeleton hands ) to make the ultimate halloween charcuterie board.
HOW TO MAKE A HALLOWEEN CHARCUTERIE BOARD
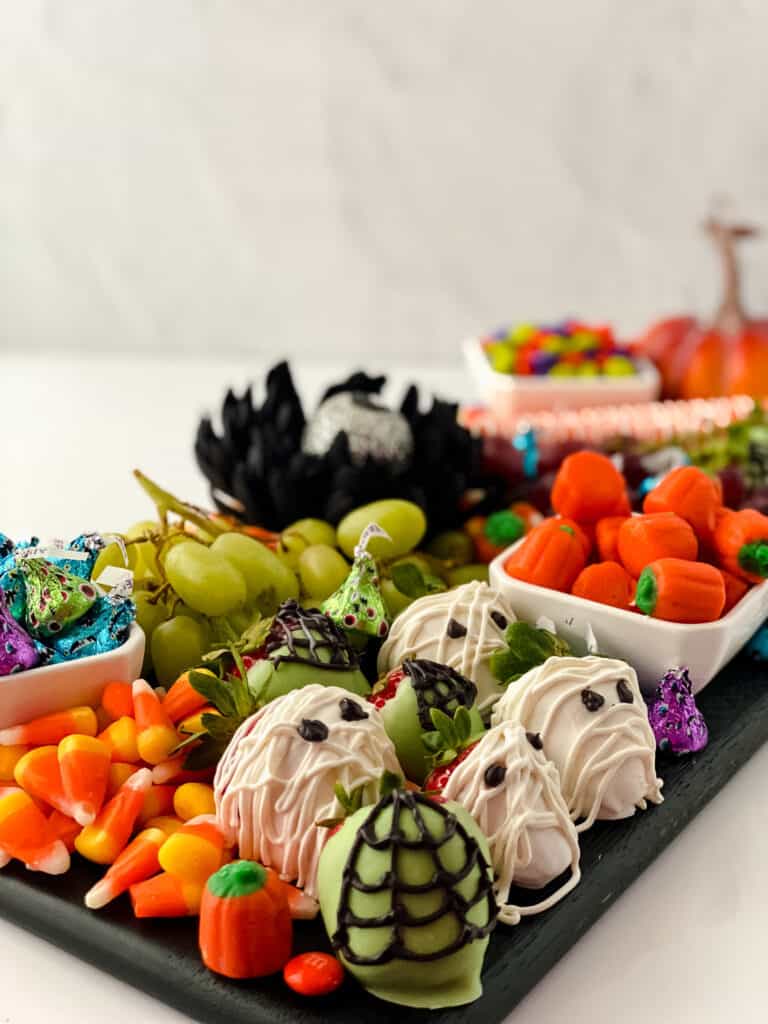
To begin making your spooky charcuterie board, begin with a large cutting board or serving platter for your base. Make sure that it is the appropriate size for the amount of food and props that you have.
Next place small bowls, ramekins, small serving utensils and decorative items to add depth to the board and break up the background.
Place down largest items first (pretzels and berries).
Add grapes, any cheese selections , and nuts
Add in any fillers (candies like the mini pumpkins, and candy corn ) to keep with the halloween theme
As you fill out the rest of the Halloween Charcuterie board, make sure the ingredients and props are grouped together in equal parts to maintain an organized look.
Bonus: How to Make Halloween Mummy Berries
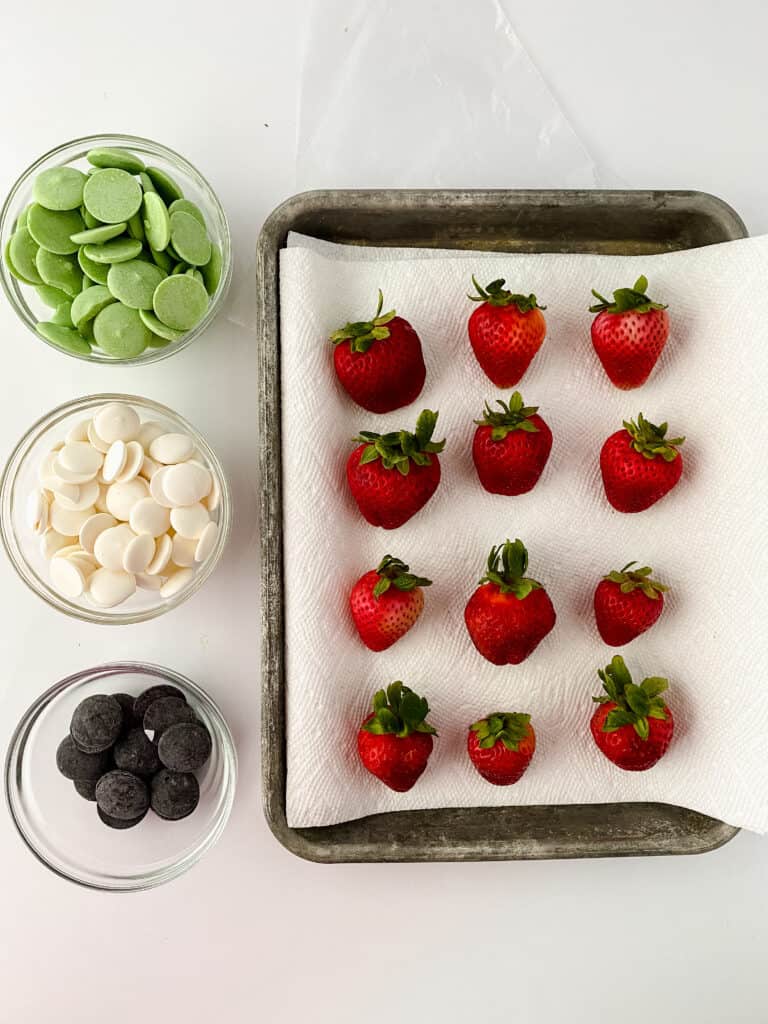
To make the cute Halloween Mummy Berries, you will need:
6 Strawberries washed and patted dry
1/4 cup neon green candy melts
1/4 cup white candy melts
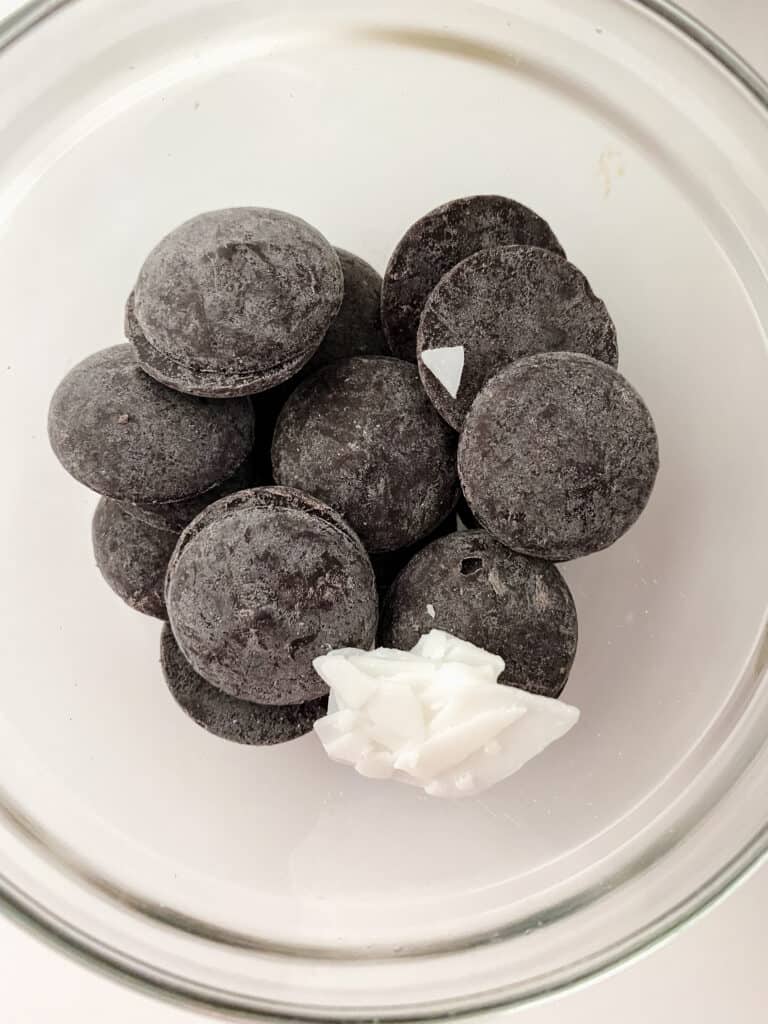
2-3 tbsp black candy melts
Now!
Melt the candy melts according to package instructions.
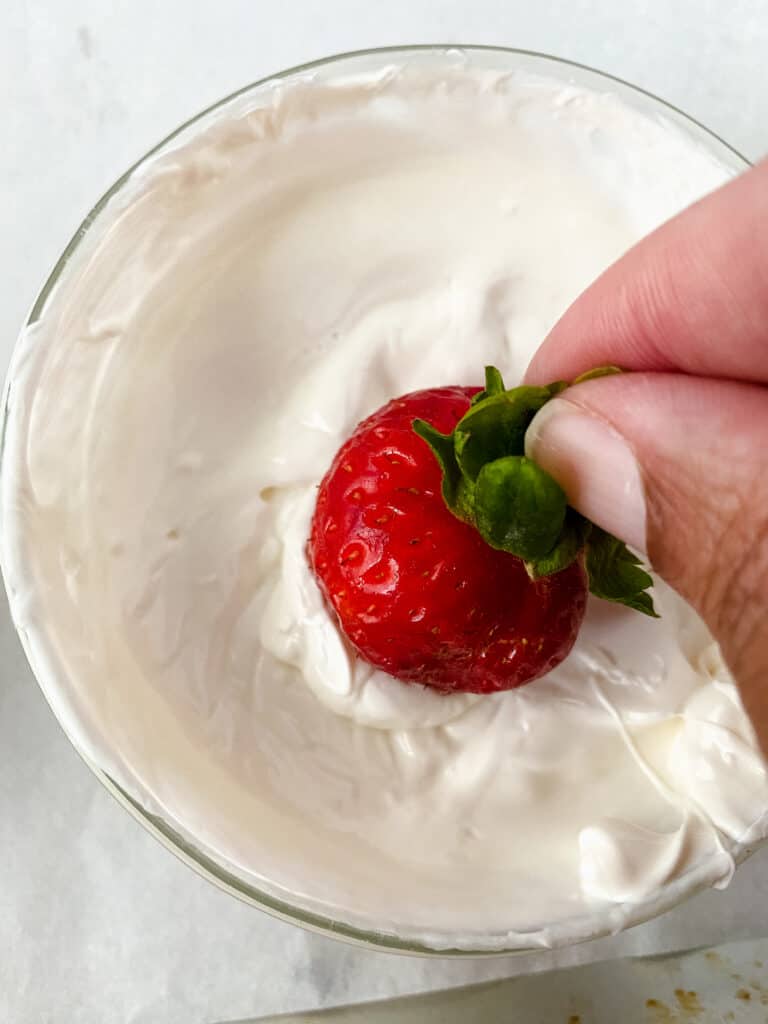
Next, dip each berry in white candy coating
Then, let sit on parchment paper until they set. About 10-15 minutes.
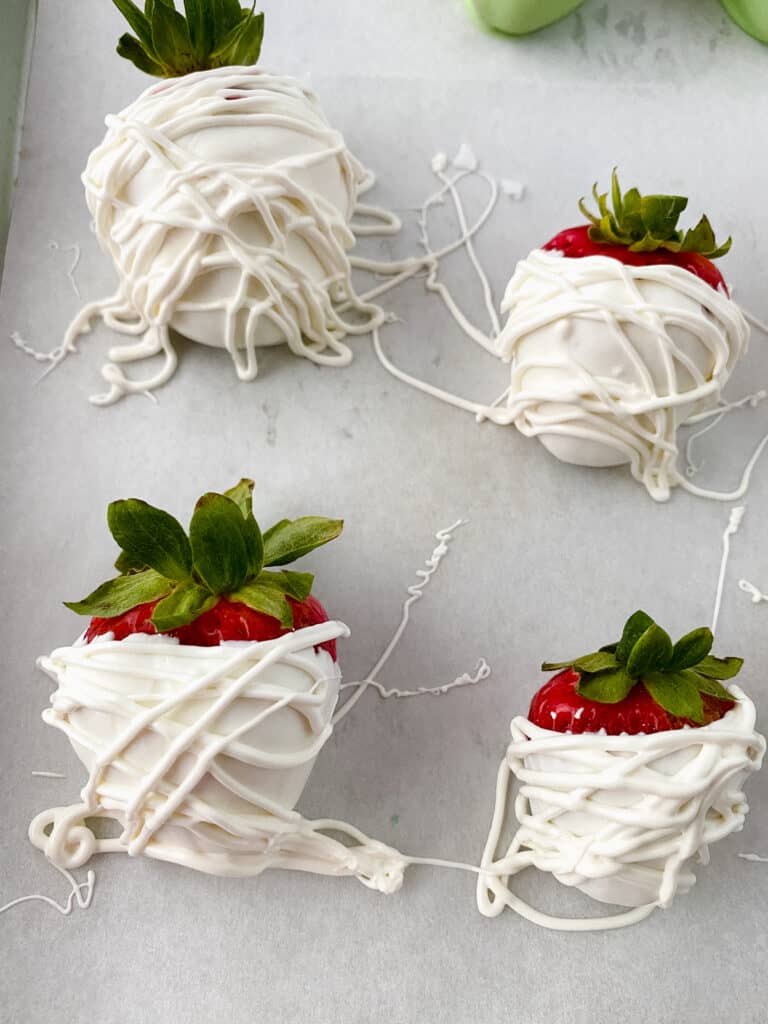
Add remaining white candy to a piping bag or ziplock bag and cut a small hole in the tip. Make lines back and forth and diagonal.
Pipe eyes on with black chocolate
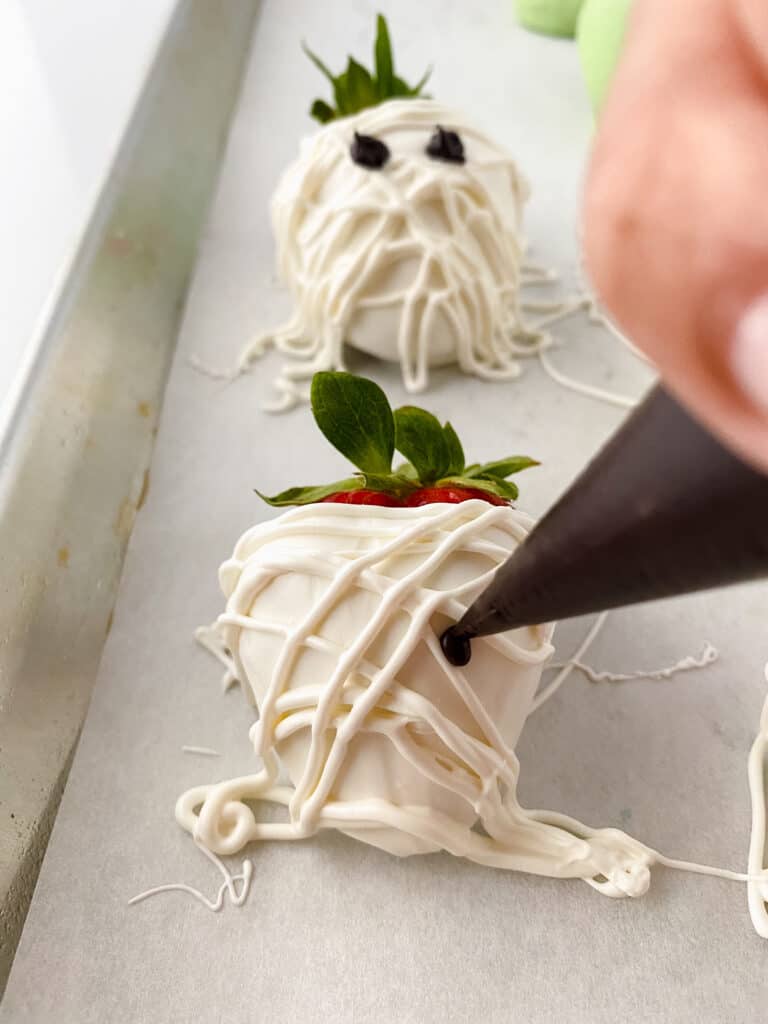
To learn how to make the strawberry spiders, scroll down!
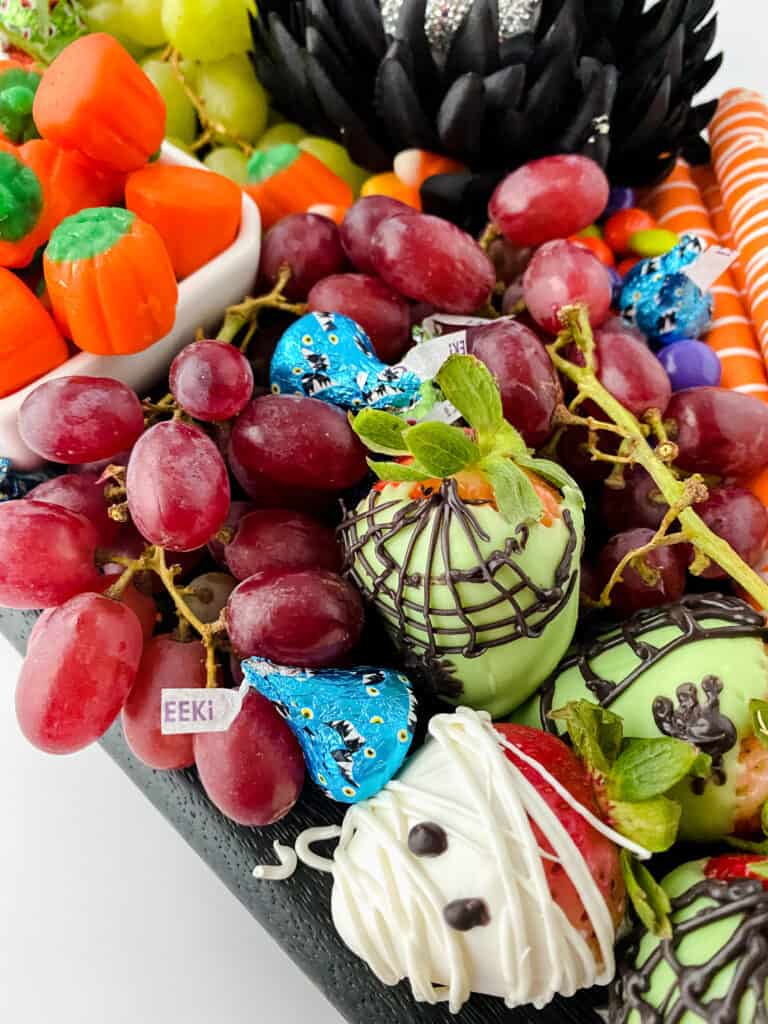
This Halloween Charcuterie Board is the perfect spooky twist on a current favorite. So basically it’s always a good idea and a perfect way to serve a lot of people delicious treats at a party during this spooky season. And wait, remember they aren’t just for parties! Charcuterie boards are perfect for a spooky night in watching Halloween Movies, reading a spooky book or just getting into the Halloween Spirit!
Halloween Charcuterie Board
Ingredients
- Charcuterie board
- Mini bowls
- Halloween decor props
- 1 10 oz Hershey’s Halloween Monster Kisses
- 1 6.75 oz/8ct Halloween Orange Covered Pretzel Rods or link to homemade pretzel posts 1 10oz M&Ms Halloween Ghouls Mix Milk Chocolate Candy
- 1 20 oz Brach’s Halloween Candy Corn
- 1 9 oz Brach’s Halloween Pumpkins
- Red and Green grapes
- Halloween Chocolate Covered Strawberries
Instructions
- Create strawberries and let set ( see instructions below)
Grab a board that is the appropriate size for the amount of food and props.
Next place bowls, ramekins, serving utensils etc to add depth to the board and break up the background.
Place down largest items first (pretzels and berries). Add grapes (cheese or nuts)
Add in any fillers (candies) to create a robust board.
Bonus Halloween Berry Tutorial
Ingredients
- Parchment Paper
- Piping bags or ziplock bags
- Paramount crystals coconut oil, or vegetable oil
- Ingredients
- Strawberries washed and patted dry 1/4 cup neon green candy melts
- 1/4 cup white candy melts
- 2-3 tbsp black candy melts
Instructions
- Wash and pat dry strawberries.
Dry them thoroughly with paper towels - *Tip (line a baking sheet with parchment paper for easy transport)
Melt the candy melts according to package instructions.
*Tip (adding paramount crystals, vegetable oil or coconut oil will help thin out thick chocolate). Stir the chocolate making sure no lumps remain and don’t overheat.
For the mummy:
Dip each berry in white candy coating
Let sit on parchment 10-15 mins until set
Add remaining white candy to a piping bag or ziplock bag and cut a small hole in the tip. Make lines back and forth and diagonal.
Pipe eyes on with black chocolate
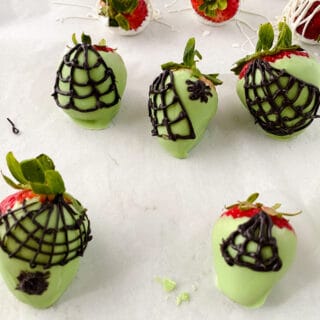
For the Spider Berries
Dip each berry in neon green candy coating
Let sit on parchment 10-15 mins until set
Using the black chocolate, pipe on a large triangle, then pipe vertical lines inside the triangle, next pipe horizontal lines between the spaces left on the vertical lines to make the spider web.- Let sit 5-7 min to harden.
Looking for other Halloween Activities and treats?
