Get off Auto and Shoot in Manual Mode!
Want to get off auto and shoot in manual mode? Keep reading! The key to beautiful photos with your camera is in this post! Keep reading!
This post contains affiliate links. See my disclosure policy here.
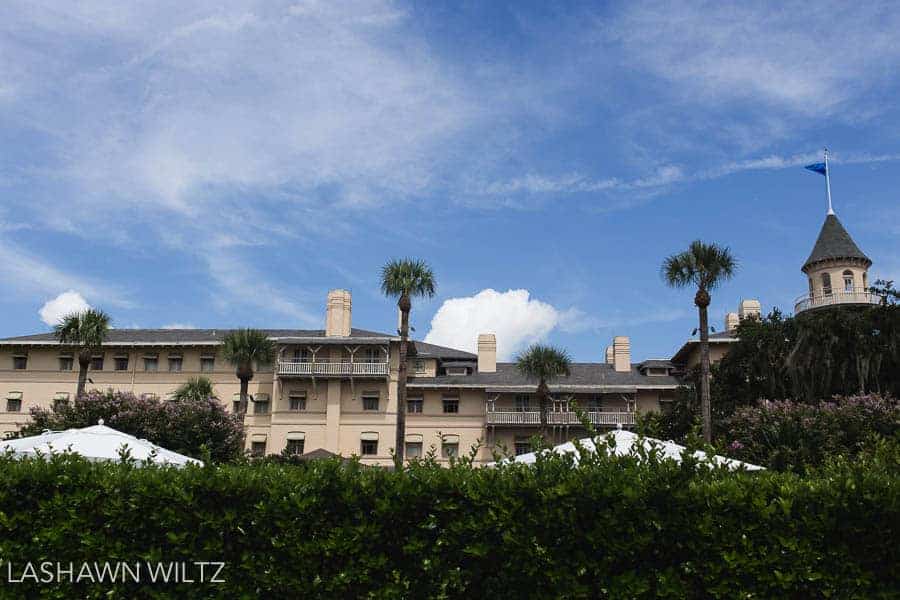
Canon 6D and Canon 35mm 2.0 Lens
Settings: F/6.3 SS 1/1600 ISO 200
ITS TIME TO SHOOT IN MANUAL MODE
It’s been a long week, but we are finally ready to put everything that we have learned together and shoot in manual mode! When you are shooting in manual mode, you are in charge of ALL THREE of the variables in the exposure triangle. ALL THREE.
YOU adjust your aperture, shutter speed and your ISO in order to create that properly exposed photo.
aperture + shutter speed + ISO = a properly exposed photo
Now, what exactly is exposure?
Exposure is one of those words that is used a lot in photography. I’ve been constantly telling you that your goal is to have your image properly exposed.
Overexposure
If your photo is too light, it is considered overexposed. An overexposed photograph is created when your image sensor is subjected to too much light and results in a photo that is too light and/or a photo with blown highlights.
Blown highlights (also known as clipped highlights) are light areas of a photo that become so light they have no image detail.) For Example:
Taken with Canon 6D and Canon 85mm 1.8 Lens
Settings: f/3.2 SS 1/1250 ISO 6400.
In the photo above, we had just come from inside and I didn’t change my ISO. Resulting in an overexposed photo of the beautiful Mimi of Unlikely Martha. 🙂
Underexposure
If your photo is too dark, it is considered underexposed. An underexposed photograph is created when there is not enough light hitting your image sensor and results in a photo that is too dark and/or a photo with crushed blacks. Crushed blacks are areas of a photo that are completely black, with no details.

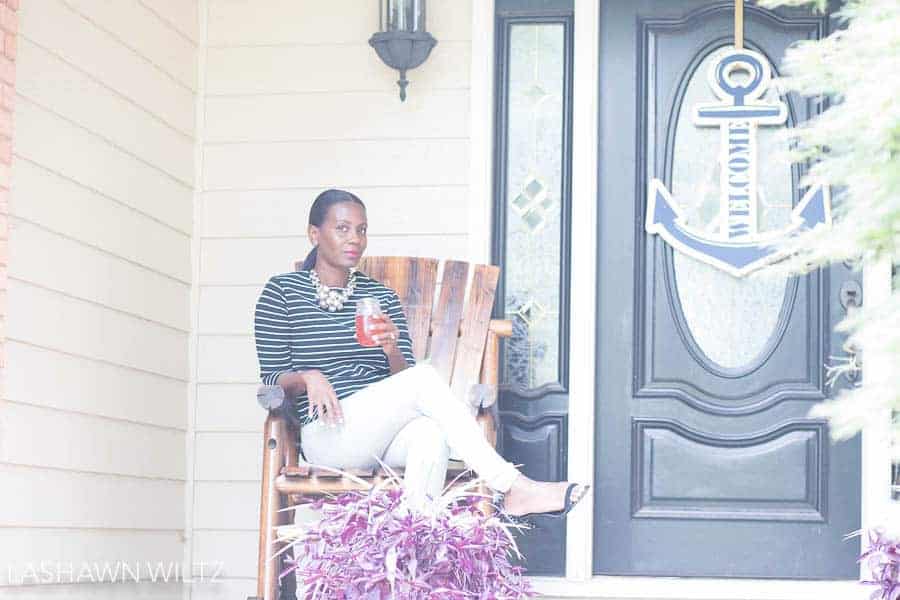
Taken with Canon 6D and Canon 35mm 2.0 Lens
Settings: Aperture f/3.2 Shutter Speed 1/1250
I like shadows typically, but here, there is no detail on the right side of her face and since it’s a portrait, that’s not really good.
There are several things to keep in mind regarding exposure:
- Exposure can be subjective: Personal preference plays a big role in exposure. Some people( like me) prefer darker exposures and some lighter exposures.
- Exposure can be situational: exposure for one photo might not be the exposure you choose for another( day vs night for example)
- Exposure is based on WHAT you are shooting: when shooting people, you want an exposure that accurately gets their skin tones.( This especially true with African Americans. When I was shooting Mimi, I had to overexpose more than I usually do so that her true skin tone would come through).
- Exposure can convey mood: light and bright is usually happy, but a darker exposure can be moody, emotional
So now that we know what we are aiming for with exposure.
How I Decide My Settings to Shoot in Manual Mode
Now, I have a few general guidelines for shooting in full manual mode. This is just MY way of doing it. After you get the hang of it, you may decide to start a different way. But for now, here is what I recommend you do when you shoot in full manual mode:
- Set your camera to FULL MANUAL MODE( find that M on your camera).
- Set your f/stop based on the amount of light you have and/or what you want your depth of field to be.
- Look at your ISO: how sensitive do you need your camera to be to light? Are you shooting in the dark? Inside? In the morning? Adjust accordingly.
- Now, look at your shutter speed:is it too slow to prevent camera shake or subject movement? If not, leave it. If so, you will need to increase your shutter speed.
- Take a shot and look at the exposure on your screen. if it’s too dark, set a slower shutter speed, a higher ISO and or a wider aperture. If it’s too light, set a quicker shutter speed, a lower ISO and/or a more narrow aperture.
- Anytime your light changes or you change your position, most likely you will have to change your settings in order to continue to have a properly exposed image.
How I Shoot In Manual
Here is my process when I shoot a photo. I wanted a portrait of Pookah. Here is my first attempt: the sun was getting ready to set. I set my aperture to f/3.5, and my ISO at 100. He smiled, I snapped.

This photo was obviously OVEREXPOSED. And added to that, blurred. Why? Look at my SS: 1/8. WAAAY too slow for a handheld shot of an active 6-year-old. And for the time of day, the ISO was way too low.
Now in my world, the aperture is always my focus, so I left my aperture at f/3.5. and readjusted my ISO to 800. Normally, I would not have gone this high outside, but I was losing light rapidly and I needed my shutter speed high because..he was laughing and moving!

The more you shoot in manual mode, the quicker and more efficient you will be in setting your aperture, shutter speed, and ISO. It will become second nature.
I tend to shoot in full manual mode the majority of the time because I didn’t learn about Aperture Priority Mode until AFTER I learned how to shoot in full manual mode. So I can adjust quickly and it’s second nature to me. After a while, it will be that way for you too. You just have to practice. A LOT.
Conclusion and a Free Download PDF
So that concludes my series on how to shoot in manual mode! Be sure to check out each post in the series if you are just reading this one and download all of the free downloads!
Stay shooting my friends! I hoped this helped!
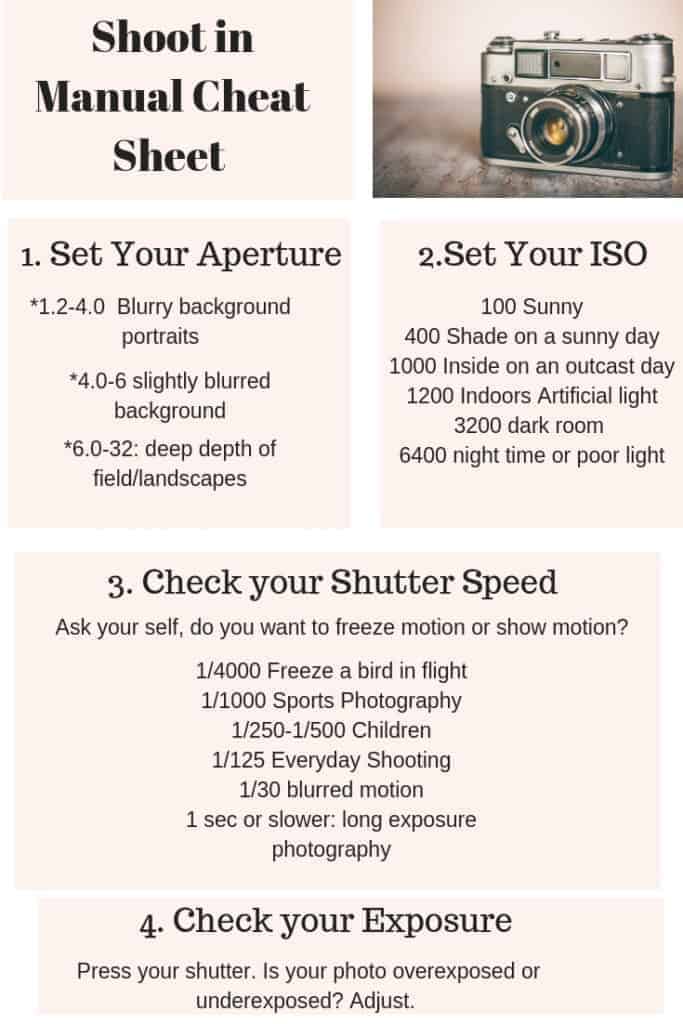
I have included this shoot in manual spreadsheet for you to download here. Or just click the graphic below!
Shooting in manual mode has made such a difference in my photography. Although I still need practice with it, I am getting a lot more comfortable with it and am seeing my photography improve every time I pull out the camera.
Great tips as always, your son always looks like he is having the time of his life. I love that.
I am taking notes and I will play around with some of the information you shared.
I revently took a picture that was over exposed. I was pissed because it would have been great otherwise.
This is such a helpful guide! I know I need to start adjusting my own iso, shutter speed and aperture so it becomes second nature.
Thanks so much for the refresher course. I haven’t practiced with shooting in manual mode since my high school photography days so this is inspiring me to give it a try again.
Great tips!! It can be so hard to try to shoot in manual, I know I tend to rely on the ease of auto mode on the camera.
Excellent tips! I have never paid a lot of attention when taking pictures, but for those that want to learn more, your post is perfect for them.
What a helpful guide! I used to shoot all the time in manual mode when I had the time to play with settings. This is inspiring me to make the time now!
I am always using automode and I havent even opened my user manual. My camera is pretty new to me, but after reading this article it has inspired me to start playing around with it.
You offered some great tips on a Twitter chat I participated in many months ago. So glad to find your blog. I need to learn how to shoot in manual better than I do. I struggle to get a good focus on my subject. The outer edges are too blurred. I will be surfing your blog for tips.
I needed these cheat sheets years ago *side eye* I have been doing okay and I haven’t went back to auto…yet.
My husband isreally into photography and is always annoyed when I borrow his camera and he gets it back in auto mode. This guide may just gove me the courage to attempt manual.
I just got a camera and have been stuck in auto not knowing what everything else meant. This is so timely clear and helpful! love your post!
Great tips, I’m going to play around with my camera.
This is awesome information about shooting in manual mode for beginners for sure. I love how you explain the differences in the exposures and how to set the right settings to get the best shoot. Thanks for sharing the awesome introduction to shooting in manual mode.
This is SO helpful! I’ve been to scared to shoot in the manual mode. I definitely need to give it a go with your tips.
LiveLifeWell,
Allison
I almost always use manual mode. Great tips here – it does take time and practice to learn to use manual mode well.
This post has been really helpful for me!! The tips are easy and straight-forward!
I love your cheat sheet! I shoot in AP mode but I want to get quicker with manual. It has been slow and frustrating the few times I have tried.
I have tried to get off auto so many times! It’s just too much for me to remember. All the settings, I get so confused. I’d love to really learn it someday though. I have a Canon T3i that I know I’m not using to its full potential.
I was just talking to one of my 4-H volunteers about shooting manually. I’ve missed shooting with a manual camera. The results are so awesome!
Great cheat sheet – thanks for sharing! I’m in love with photography <3
Thank you for the tips. I’ve been looking into buying a “professional” camera and when I do I’ll be coming right back here to learn how to use it to get the best quality pictures.
I gotta take this tip with me all the time. We tend to shoot at auto mode as always but I think it’s time for me to do some manual shots too!
I have been using my camara for a while now and i keep getting new things to learn like this!
Great post for beginners who are interested in stepping up their photography game!
Totally bookmarking this! One of my goals this years is for hubs & I to take some photography classes so he can be my official blog photog 🙂 These tips are definitely helpful.
Hi …. thanks for the nice tips….gotta question though……..what should be the exposure compensation when shooting white skin tone, Indian kinda skin tone,and dark skin tone ( when exposed for their skins) respectively….. ur reply is much appreciated….. thanks in advance
Best cheat sheet I have seen! So glad Pinterest shared your site with me!