The Easy Guide to Understanding White Balance
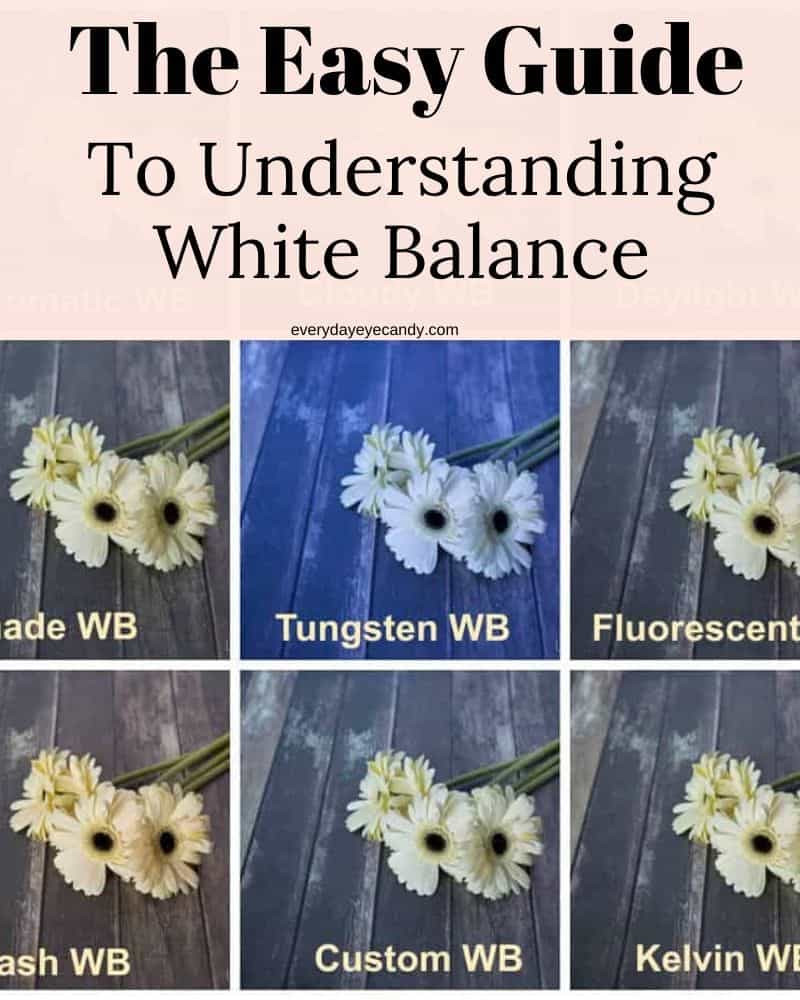
Understanding white balance is the key to a great photo straight out of camera! Check out this post about everything you need to know about white balance.
The Easy Guide to Understanding White Balance
I love April! To me April is about renewal, easter,my birthday and spring! And spring brings to mind flowers. I found these beautiful Gerbera Daisies at the Farmer’s Market( I’ve started going there weekly for groceries). When I grabbed them at the market, my first thought was: I can’t wait to get home and photograph them. I put them on the table, picked up my camera and shot. And wondered why my beautiful daisies looked off color. Two words: white balance.
 Straight Out of Camera ( SOOC) Automatic white balance
After learning the exposure triangle, learning to take photos using the correct white balance is one of the keys to a good photograph. We don’t notice it so much with our eyes, but different light has different colors.
That’s why when you sometimes take a photo indoors under fluorescent lights, you notice a orange tinge to everything. And why some photos taken at dawn or dusk have a blueish tinge to them.
Your camera has various automatic presets to help you combat this. The presets help you to neutralize the different colors of light that and end up with a photo whose color is more true to life.
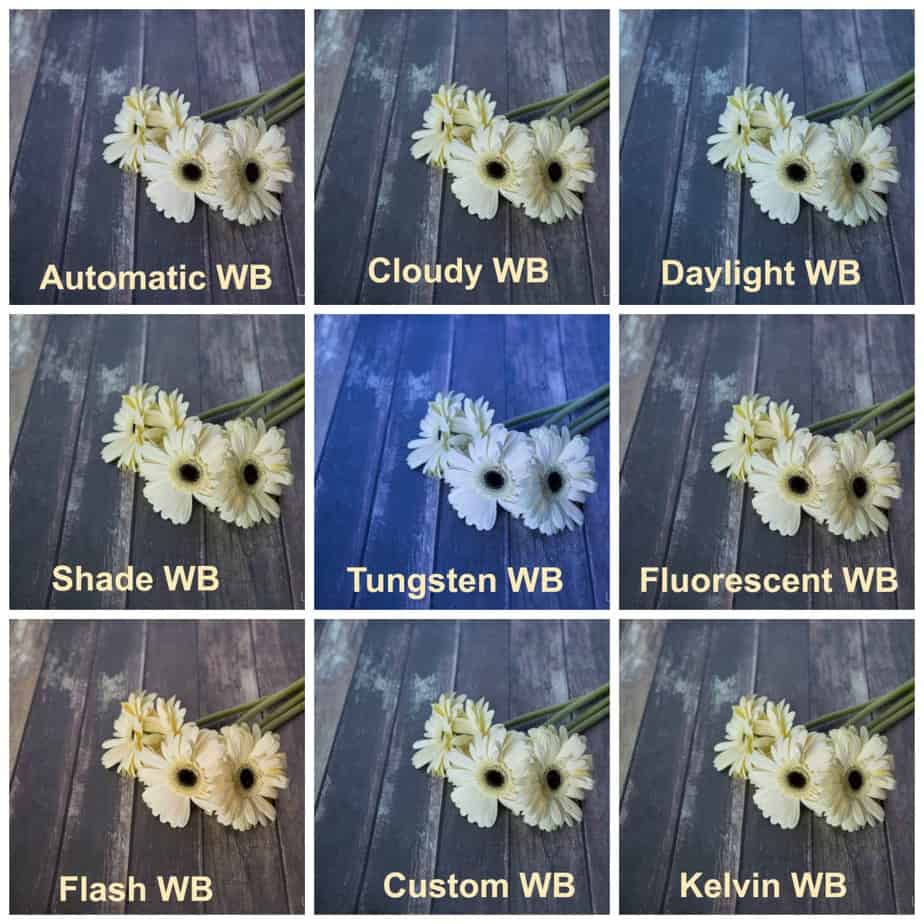
My Canon 6D includes Kelvin but other than that,most cameras have the options below. To help you get an idea of how white balance in photography affects your photos, I conducted an experiment.
All of the following photos were taken at the time time, in the same light on the same table in the same room, with the same settings. The only difference is that I changed the white balance.
Presets:
Kelvin
Since I got my Canon 6D, I’ve been learning Kelvin WB. I like the idea of not having to have anything extra ( like a grey card or an expodisc) with me to set my white balance. And it make my post processing so easy!
When you use Kelvin white balance, you are neutralizing the temperature( color) of the light in your photo, so if your light is really yellow, like indoors, you’ll want to set your Kelvin to low temperature. On the other hand, in the shade, you’ll want to set your temperature higher, like 7000K to get rid of blue tones of shade light.
I took these photos in the early morning light in my RED dining room. So not only did I have to neutralize the cast of the red walls, but also the blue light coming in my windows. So my Kelvin was 7000K in this photo, my favorite…
Straight out of camera sharpened for the web
And now, the rest, using Kelvin edited……..
Canon 6D with Canon 50 mm 1.8 lens
Settings: f/5.0 1/100 ISO: 1600
Taken with Canon 6D Canon with Canon 100mm 2.8 Lens
Settings f/5.0 1/80 ISO 1600
Taken with Canon 6D with Canon 100mm 2.8 lens
Settings f/5.0 1/80 ISO 1600
The only way to improve and to train your eye is to practice. Take photos in different light and learn.
Questions?





Doggone-it, you’re so good at this. Photography is a true art form. And you’ve got it, girl!
Your pictures are always SO beautiful! And your tips are helpful as well. Clarify something for me please: the themes start on Thursday’s?
yes, we start on Thursdays and we go until the next wednesday at midnight! Join us!!!
I’ve been participating for the past month or so. Yet, I couldn’t figure out how I missed this weeks theme. Thanks for clearing that up for me!
I am around here trying to find something to take a pic of for spring so I can link up. Love the flowers I may buy some this weekend to practice on my new toy
yesss. i can’t wait to see!
Oh yes! I haven’t touched K in forever. I know I should really try to use and for sure on this island!! Thanks for sharing!
Great shot, I like spring flowers but the way my allergies are set up. I was having a white balance issue when snapping pics last week. This tip was very helpful. #ourproject52
Great pictures. Love the tips. I haven’t really played with my white balance yet, but I know I need to. I get that weird cast at times and it’s so frustrating.