The Best 100 Tips to Help You Take Better Photos
Looking for tips to help you take better photos? Look no further.
When I picked up my first DSLR after having my son, I wish I had had a comprehensive list of tips to help me to take better photos. Instead, I searched the internet and read every book I could while picking up my camera every day to take photos.
But you do. I’ve compiled this list just for photographers who need a guide. A push. Without being overwhelmed.
It’s divided into sections so you can easily jump to the section that you feel like you need the most.
this post contains affiliate links
100 Tips to Help You Take Better Photos
Camera Basics
1 Read your manual before you pick up your camera
2 Always make sure your lens is clean
3 Always have an extra CHARGED battery
4 Take a photo every day
5 Take Your camera off of auto and shoot in manual
6 Shoot in Raw rather than JPeg. You will have more control over the editing of your photo.
7. Read The Digital Photography Book, Vol. 1 by Scott Kelby
8 Turn off your flash…for now…
9. Never get comfortable with what you know. Keep learning
10 Comparison is a joy thief. Don’t compare your beginning to someone else’s end. Your journey is your own.
Manual Mode
11. Aperture+shutter speed + ISO= a properly exposed image
12 Don’t be afraid to hike up your ISO to get a properly exposed image
13 Noise is ok if your image is properly exposed. It can be fixed in post-processing.
14. If you want only a small portion of your photo in focus, use a small or wide-open aperture.
15. The higher your shutter speed, the less light it lets in. In general, higher shutter speeds are better for daytime photography, and lower shutter speeds are better for nighttime photos.
16 Use Depth of Field to create Bokeh
17 If you want all of your photo in focus, use a large aperture or a narrow f/stop
18 If you want only a small portion of your photo in focus, use a small or wide open aperture.
19 A fast shutter speed freezes the motion of a moving subject while a slow shutter speed blurs the motion of a moving subject.
20 Learn How to read a histogram.
21. Print out a cheat sheet to take with you until you become comfortable with your settings.
Focus
22 A Focal point is the point your camera uses to make the sharpest part of your photo.
23 When you shoot people, make sure that you place your focal point on your subject’s eye. We are naturally drawn to the eyes in a photo. Make sure that they are the sharpest part of the photo.
24To get your photos sharp and in focus, make sure that your shutter speed is at least 1/125
24 Another trick to keep your camera steady and your photos in focus, lock your elbows as close to your body as possible. It helps to separate your feet as well to give your body more stability.
26. Don’t shoot wide open. There is such a narrow slice of focus that it is easy to miss focus on your subject.
27. Use Back Button Focus: This means that you use a button on the back of your camera for focus. Which separates focus and the shutter from each other.
28. When you have a moving subject ( say a child or athlete) use continuous mode or al servo. This mode constantly refocusing while tracking your subject.

Light
29 Always look for natural light
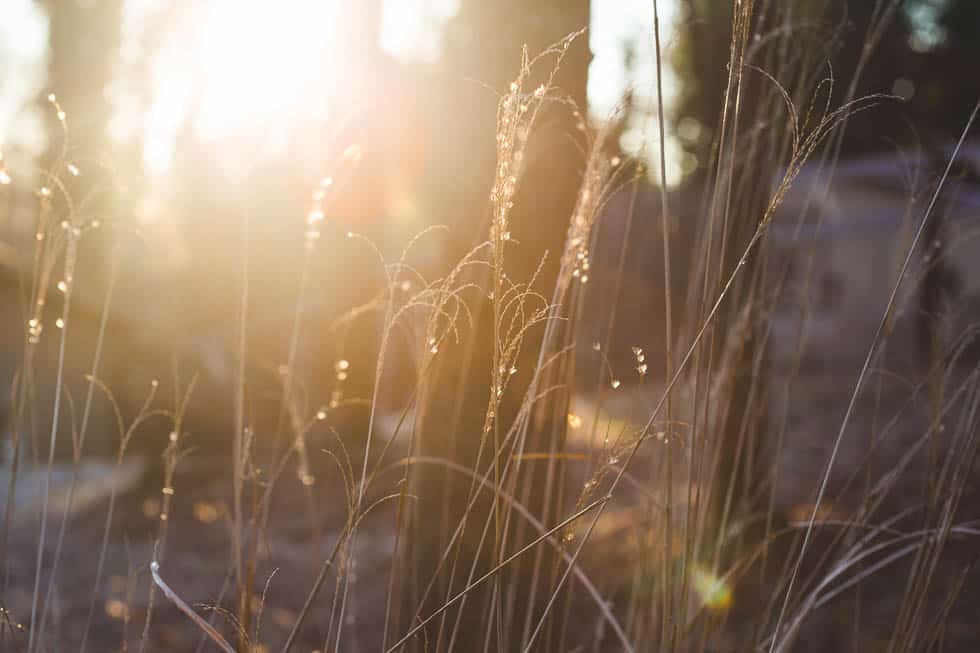
30 Shoot with the light behind you.
31 To get catchlights in your subject’s eyes, position your subject with their eyes facing the light source
32 To get depth and shadows, position your subject at a 45-degree angle to the light source.
33 When using open shade, Put your subject at the edge of the shaded area, looking out toward the area that has light. You want them looking out ONTO the light, but not actually IN the light.
34 When shooting in backlight ( the light is behind your subject) don’t shoot with the sun directly behind your subject, but rather to the left or right of them.
35 An easy way to capture a silhouette is to get down as low as you can with the light behind your subject
36 Spot metering is the most specific way of metering for exposure. Rather than trying to get proper exposure on an entire area of the photo, it focuses on one tiny specific area. Usually the subject.
37 White balance is the color of the light in your photo. It’s easier to get this right IN camera rather than have to fix it in post.
38 Don’t mix different light sources. to avoid having to fix tricky white balance in post.
40. If you are shooting in low light, open up your aperture. A lower aperture will let in more light
41. If you can, use a tripod in Low light. It will help keep your camera steady and allow for longer shutter speeds. Longer shutter speeds will let more light into your camera.
42. Learn Kelvin White Balance
43 Kelvin is a scale for measuring temperature (as in heat). Color temperatures can also be described in kelvins. Most advanced DSLR’s have Kelvin as an option.
Composition
44. Don’t body chop: One of the easiest ways to make your photos look more polished is to not chop off limbs in the wrong places. You don’t want to chop off part of the head, hands or feet.
45. When you use Rule of thirds, place your subject in one of the intersecting points on the grid.
46. f you have trouble visualizing your grid turn it on on your camera or your mobile phone.
47, Look for natural and man-made lines when utilizing leading lines.
48. Use Negative Space to isolate a subject. Negative space
49. Consider depth of field when composing an image. A shallow depth of field will isolate your subject while creating a blurry background, drawing attention to your subject.
50 Keep Your horizons Straight. Use the grid on your camera
51 Also, don’t let horizons on lines or poles or anything grow out of your subject’s head.
52 Change your perspective. Sometimes getting low or shooting from above your subject makes a better photo.
53 Break all the rules. Place your subject in the center.

Camera Equipment
54 Always format your memory card before using it.
55. Choose a camera based on your current abilities, not the ones you want to have.
56 Understand that better gear is not always the answer. Sometimes, it’s your skills that need improvement first.
57. Instead of upgrading your camera, upgrade your Lens first.
58. The first lens to updrade to should be a nifty 50 or a 35 mm lens
59. Rent a lens before you buy it to make sure it’s what you want.
60. Don’t get a cheap tripod. You will always end up replacing it and spending even more money.
61 Choose a lens based on what you like to shoot. For example 85mm for portraits, 24 mm for landscapes 35 mm for lifestyle.
Editing
63. Get a system to get your photos organized.
64. Get the Adobe Photography plan for $9.99. It includes Lightroom and Photoshop
65 Your goal should always be to get a photo as close to you to want it IN camera.
66 Use presets to make your editing go faster
67 You can also use presets to make all of your photos look uniform on your blog or Instagram.
68 Save money and make your own presets.
69. To get correct skin tones when editing, always start with the correct white balance.
70 Good Black and white conversations start with good light and contrast.
71. No amount of editing can make a bad photo better
Lightroom
72 Batch editing is your friend and the best part of lightroom
73 You can apply setting when you import
74 Use the white balance dropper to easily correct white balance
75 The orange luminance slider is a great tool to get great skin tones.
76 Presets are not the answer to fixing your photo
Photoshop
77 You can change the color of anything in Photoshop
78 Photoshop is great to use to clone out people.
79 Curves in Photoshop can help you improve contrast, brightness, and color.
80 Actions are not always the answer to fixing your photo.
81 Use masking to blur the background in photoshop

Mobile Photography
82 Make sure your lens is clean.
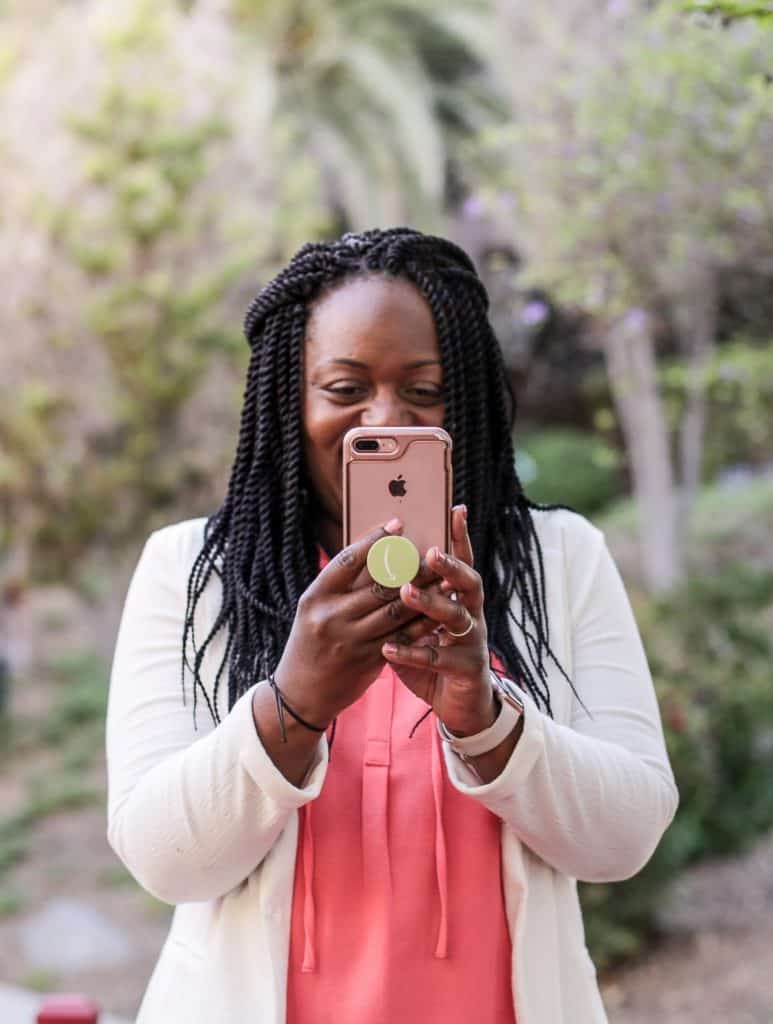
83 Always look for the light. Even though our mobile phones are getting as good as a basic DSLR, you still need great light for a good photo
84 Zoom with your feet. No matter what they tell you. The quality and resolution of your photo will suffer.
85 For moving subjects, use burst mode: this ensures at least one of your photos is in focus.
86 Edit on your phone with apps like Lightroom Mobile, VSCO, or a Color Story
87 Follow the basic rules of composition
88 To help, turn on the grid on your camera.
89 Set your focus manually by tapping on the screen. When you do this, you can also control the exposure of your photo.
90. Buy a lens just for your phone like the olloclip. Fisheye, wide lens and maco are available.
91. Invest in a tripod for your camera like a Manfrotto mini tripod.
Creativity
92 Tell a story with your photos
93 Buy a macro lens and learn macro photography.
94 Shoot with one lens for a month.
95 Start a 365 project or a Project 52 to improve your photos
96 Do a Photo a Day Project on Instagram
97 Join a Facebook group for support and projects.
98. Print out your photos in photo books and start scrapbooking to preserve memories.
99. Start an Instagram account to share your work.
100. Join a photo walk.
So there you have it, 100 tips to help you take better photos. Has this helped?


You know photography is my struggle. This post is for me. Pinned and printed. Thank you my friend.